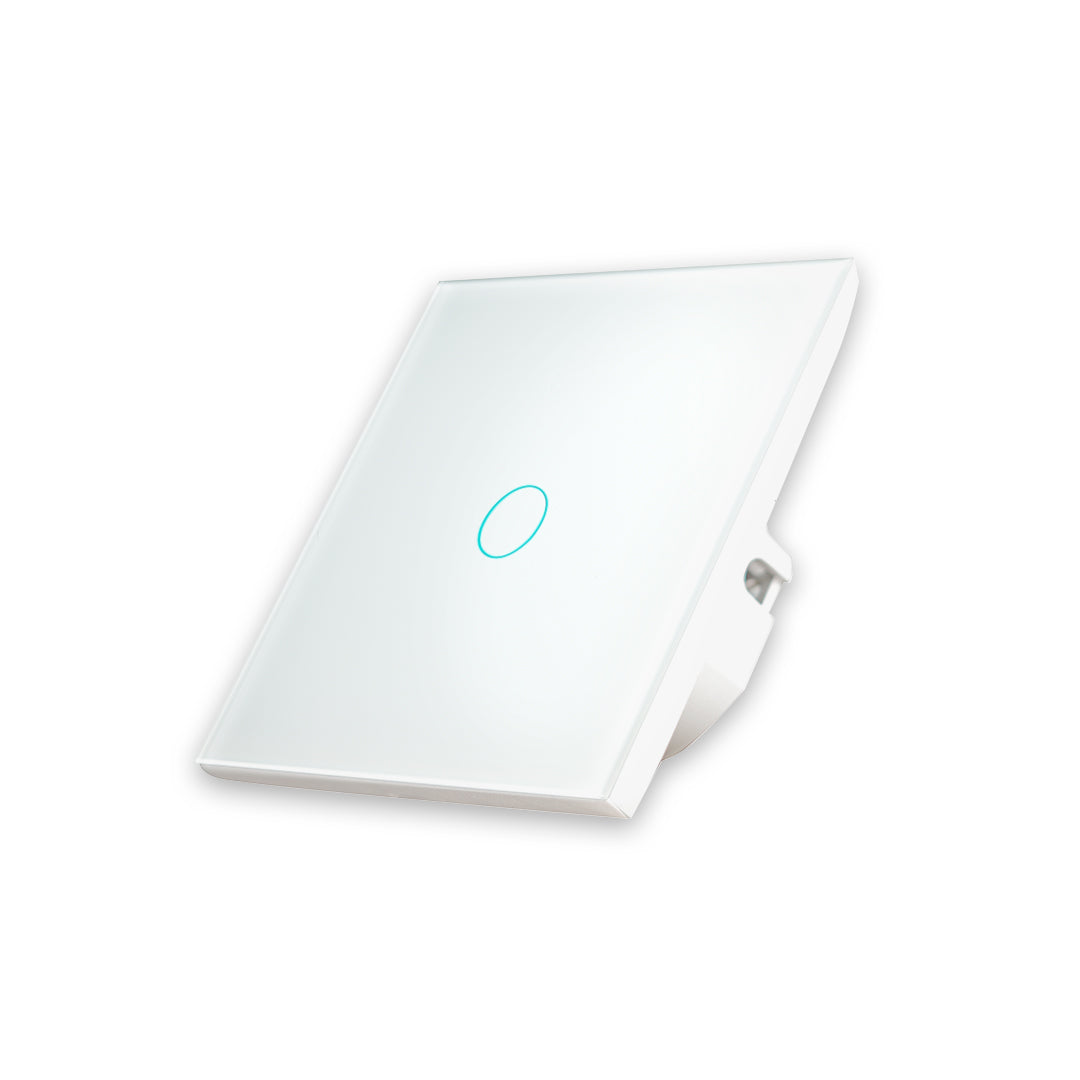
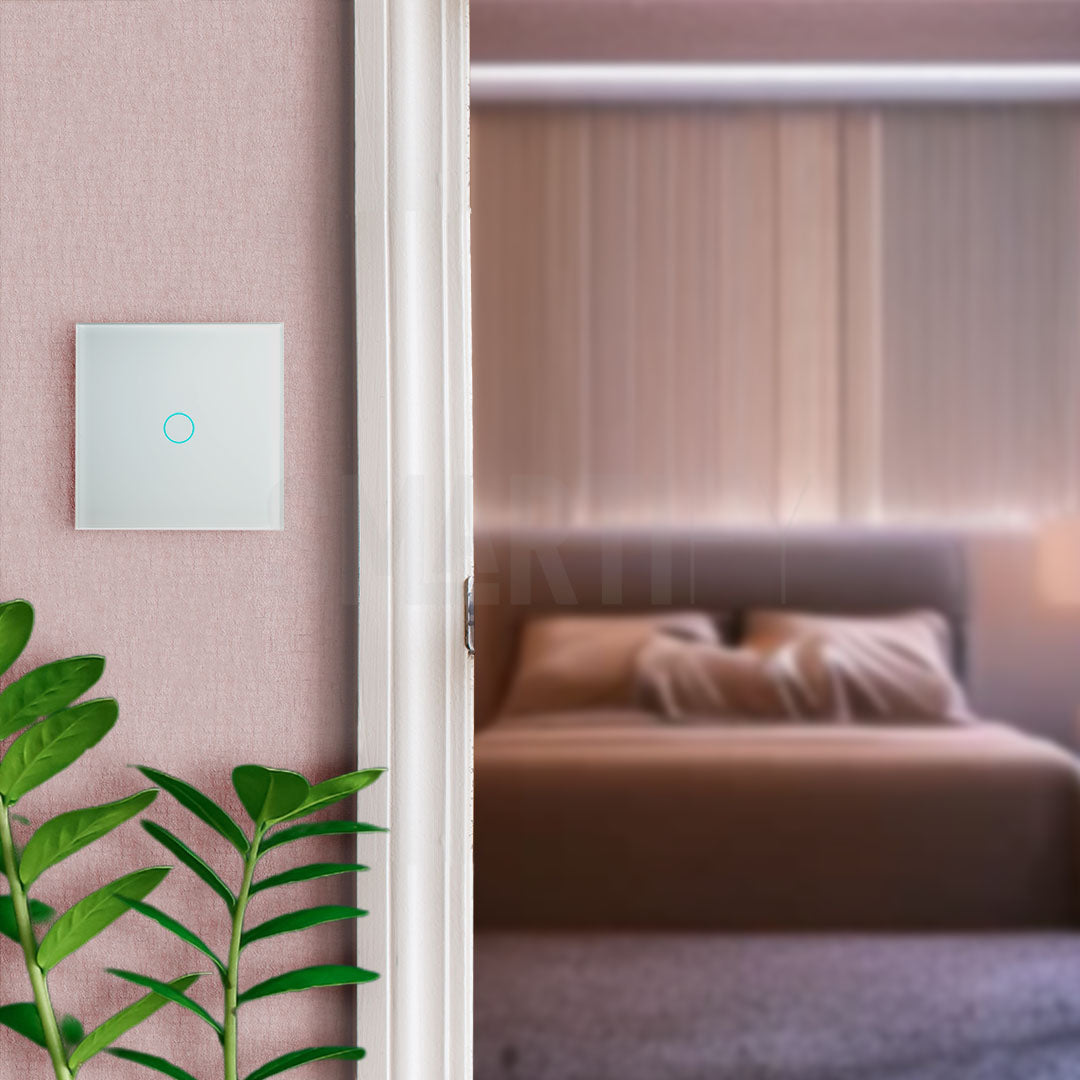
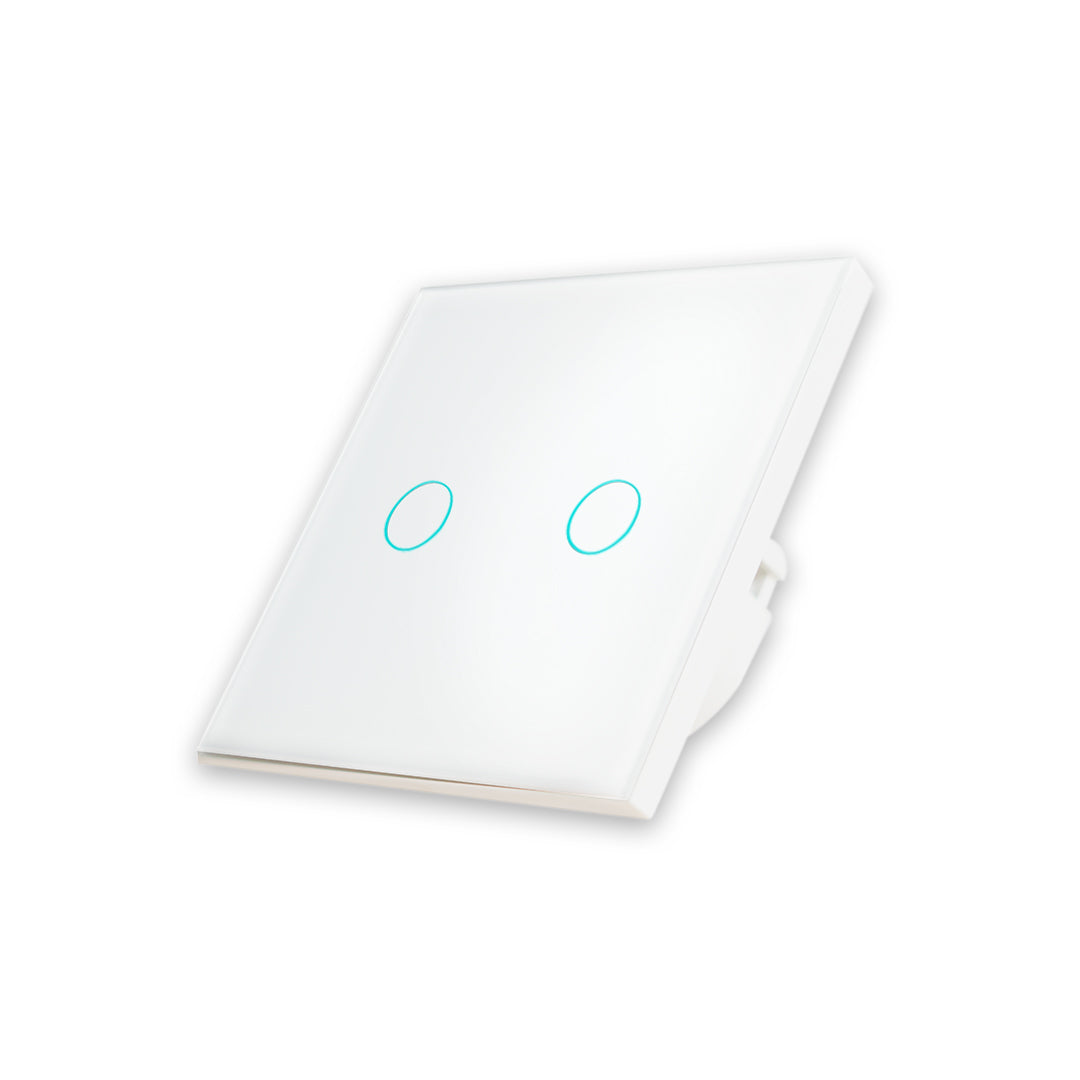
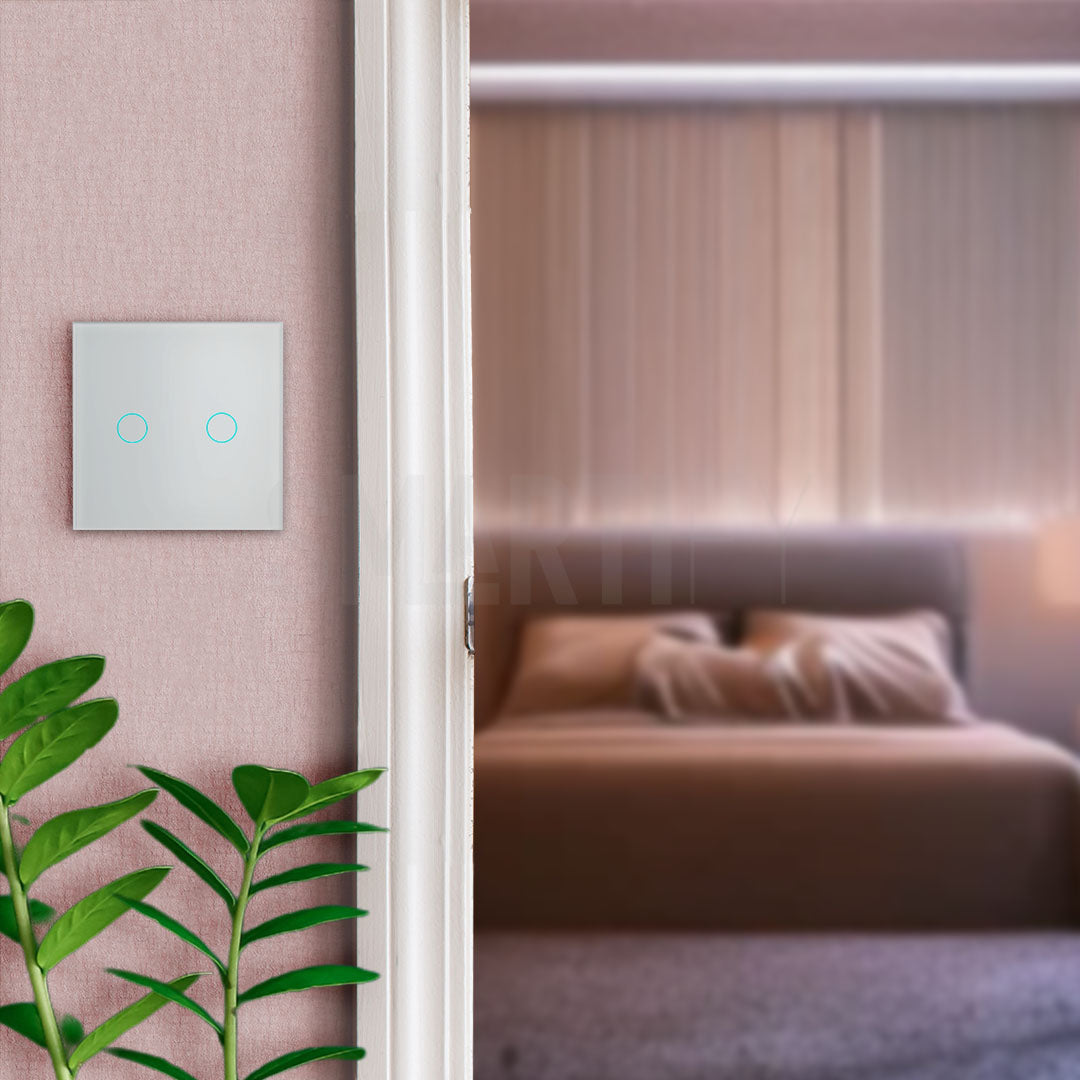
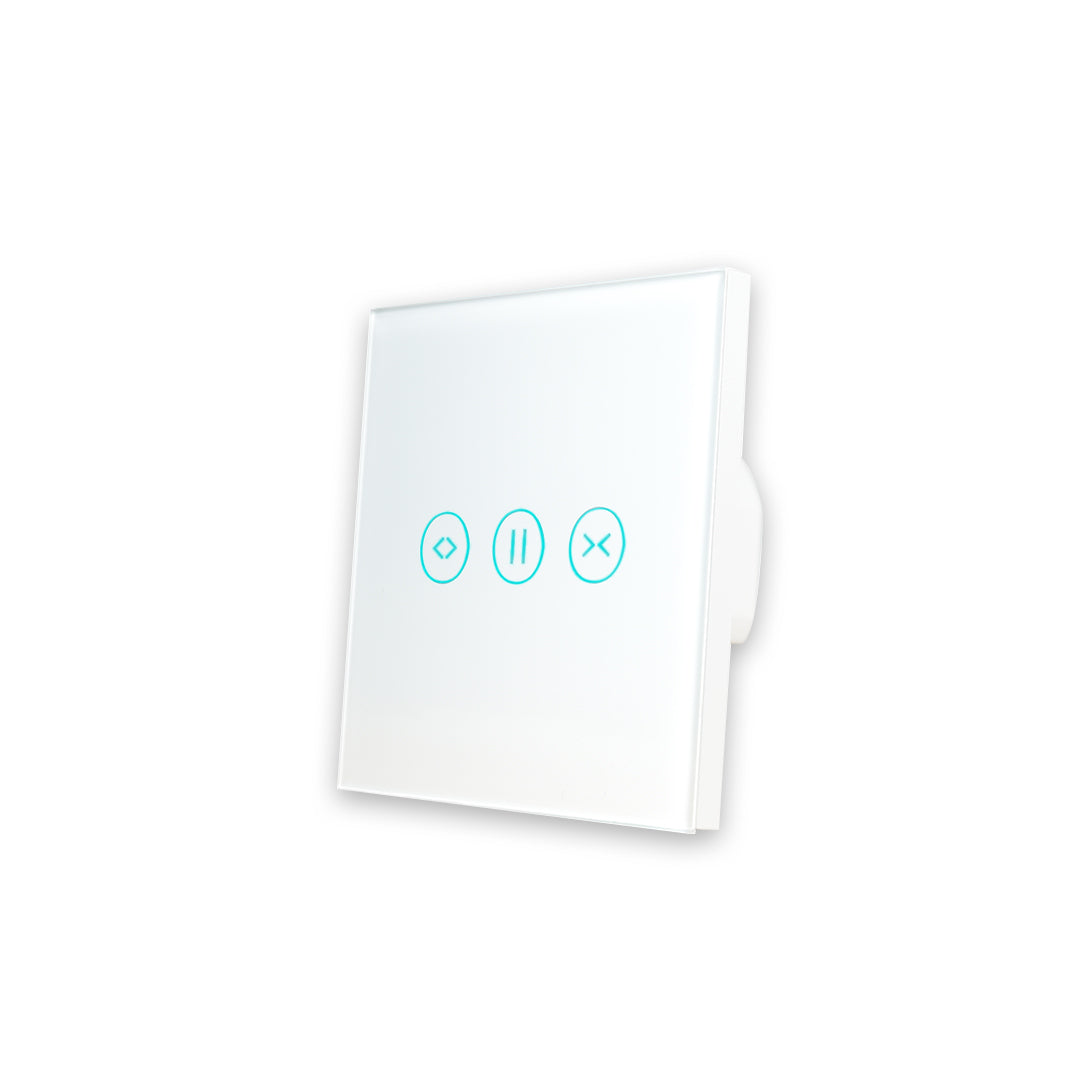
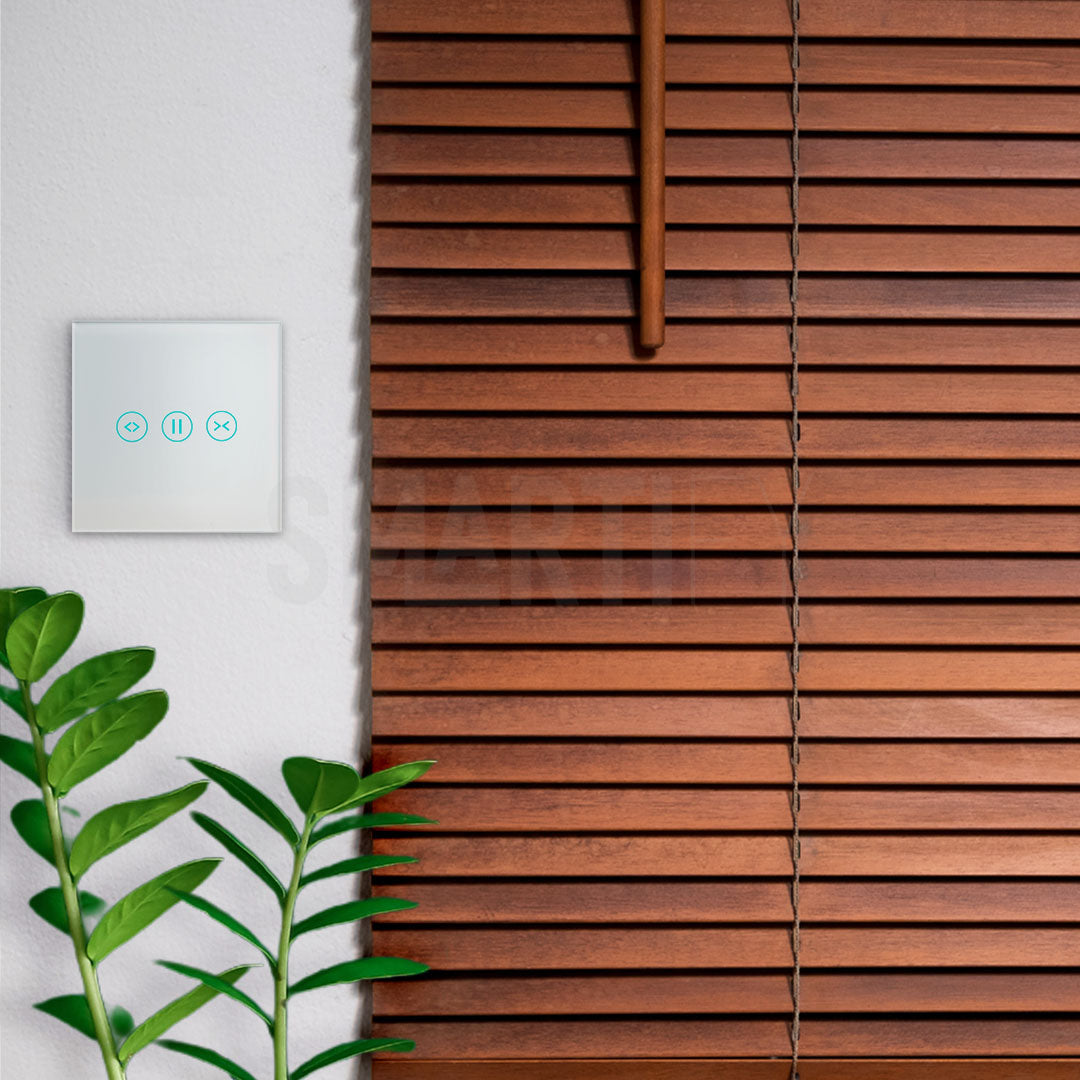
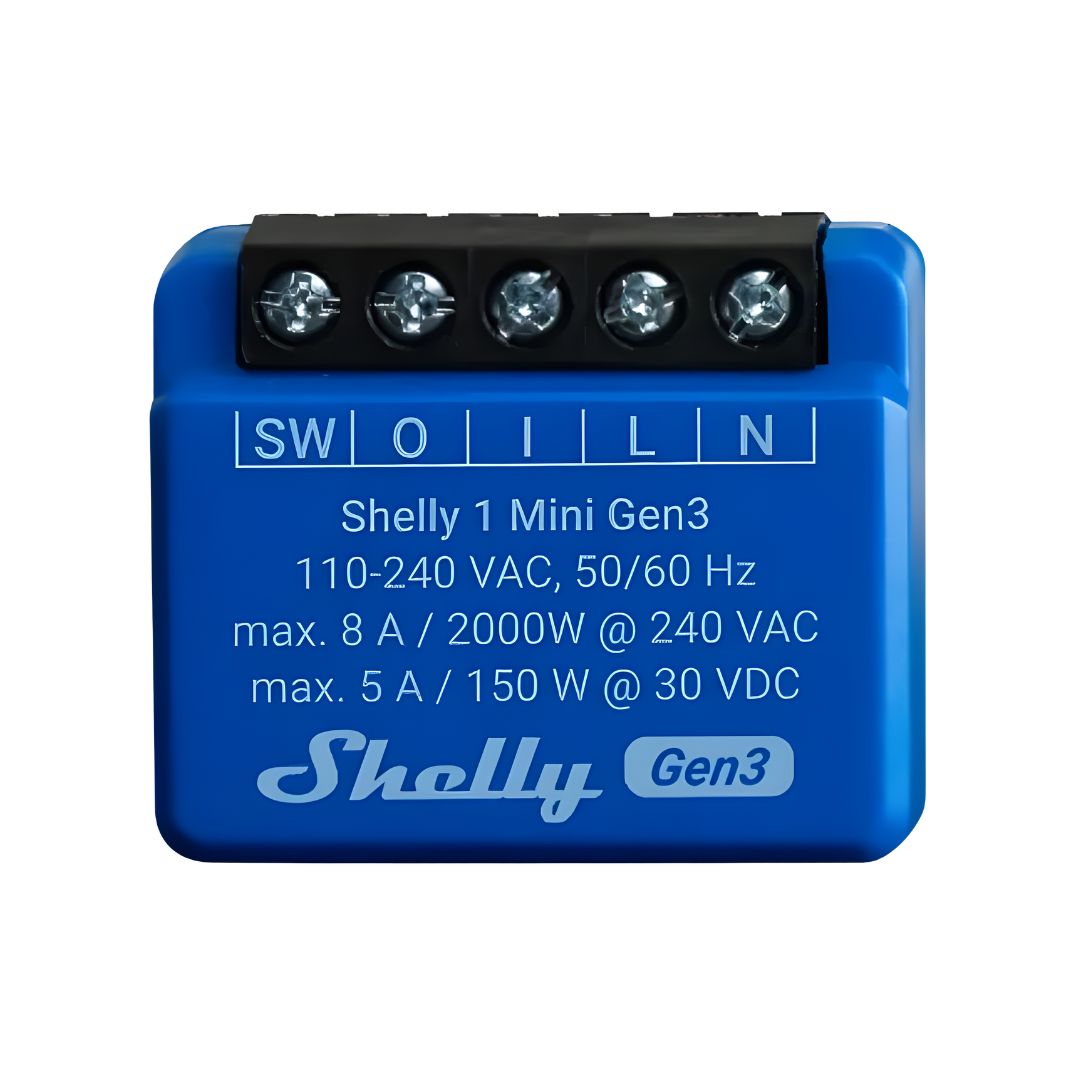
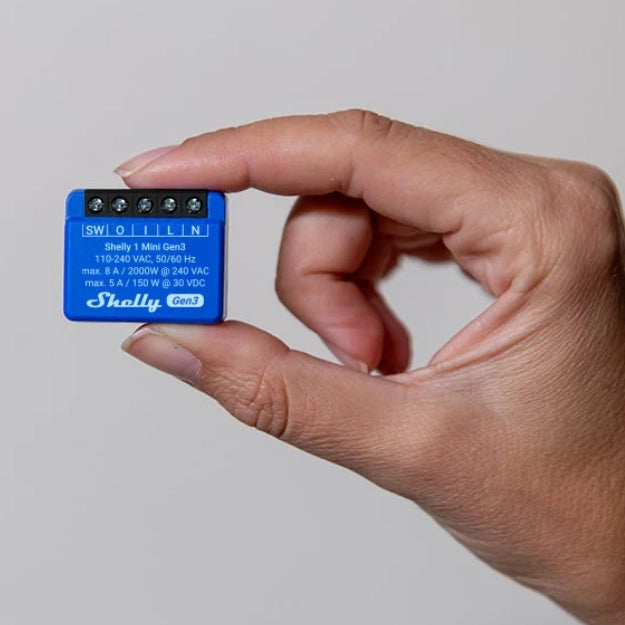
The WiFi Light Switch, easy to install and configure, with a direct connection to your home's Wifi without extra devices.
Content:
1. After-sales service and tips.
2. Precautions.
3. Product information.
4. Installation of the WiFi Smart Light Switch SMARTIFY.
5. Download and installation of the SmartLife application. or Tuya.
6. Add new device.
7. How to connect the Smart WiFi Light Switch SMARTIFY
to Alexa.
8. How to control the Smart WiFi Light Switch SMARTIFY
with Siri.
9. How to change the WiFi from 5.0 GHz to 2.4 GHz?
10. Troubleshooting.
1. After-sales service and tips
If you cannot connect to the device via “Quick Flash” (the
indicator light blinks every 1 second), please use the “Slow Flash” mode
(the indicator light blinks every 3 seconds).
The WiFi Smart Light Switch SMARTIFY comes with a three-year after-sales service from the date of purchase.
If you have any questions regarding the product's operation, if the
device is defective or you cannot connect the device to WiFi,
feel free to contact SMARTIFY by email at geral@smartify.pt. We can help with the issue or, in case of
defect, replace it with a new device.
Tips:
The WiFi Smart Light Switch SMARTIFY only works with a
2.4 GHz network (does not work with 5.0 GHz). Please check if your home’s
network is 2.4 GHz and make sure that your mobile phone is connected to
your WiFi network.
2. Precautions
- Turn off the power supply before installing the device to
protect it from electric shocks.
- Make sure that the phase and neutral are connected correctly.
- Ensure that the screws and wires are tightly secured.
- SMARTIFY advises that the installation of the device should always be done
by a certified electrician.
3. Product Information
![]() App control,
App control, ![]() Touch control
Touch control
![]() Voice command control and
Voice command control and  Schedule programming.
Product Specifications:
Power supply: 95v-250v AC
Maximum current: 10A
Maximum power: 100W /circuit
Wireless: 802. 11 b/g/n 2.4 GHz
Security: WPA-PSK/WPA2-PSK
Material: ABS + Tempered glass
Size: 86 x 86 x 32mm
Certifications:
CE, RoHS, FCC
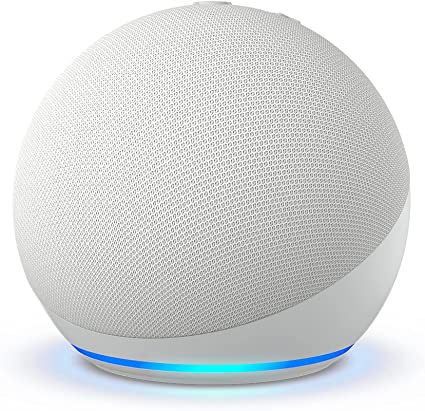
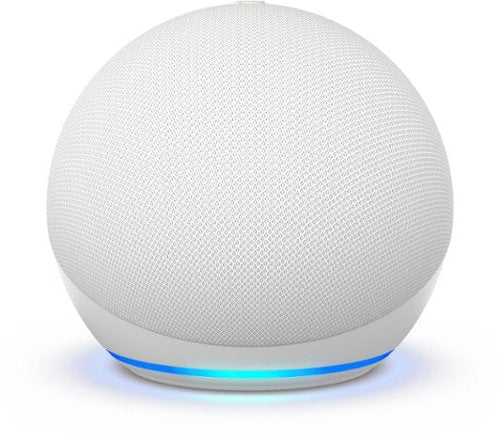
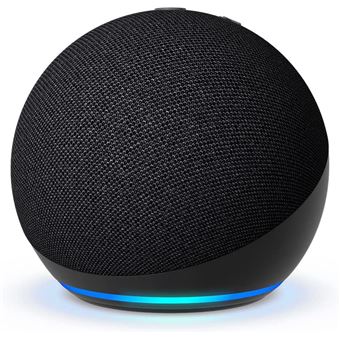
Compatible with Amazon Alexa, Siri, Google Assistant, IFTTT, and Home Assistant.
4. Installation of the Smart Light Switch
WiFi SMARTIFY
1. Open the glass of the switch panel with a screwdriver
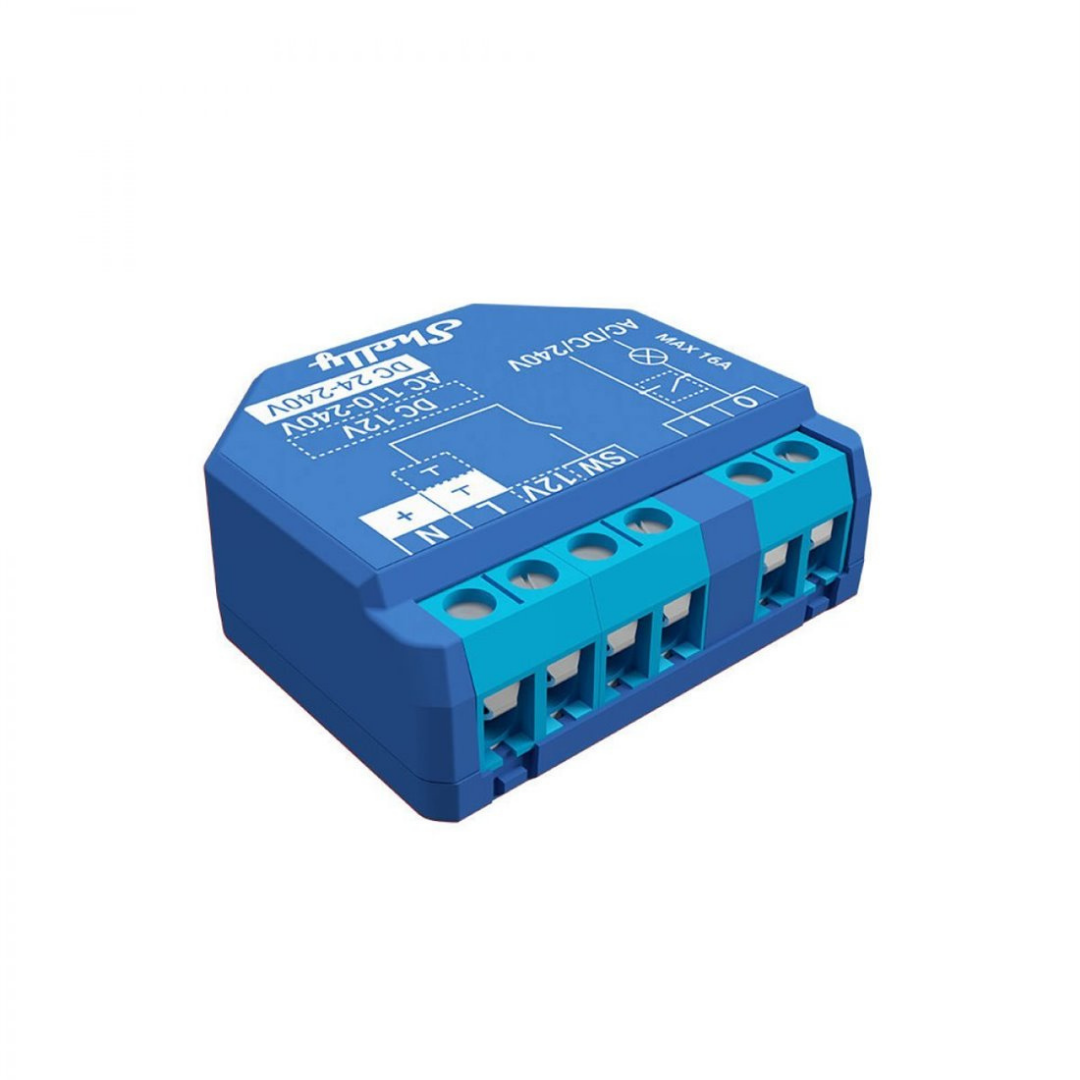
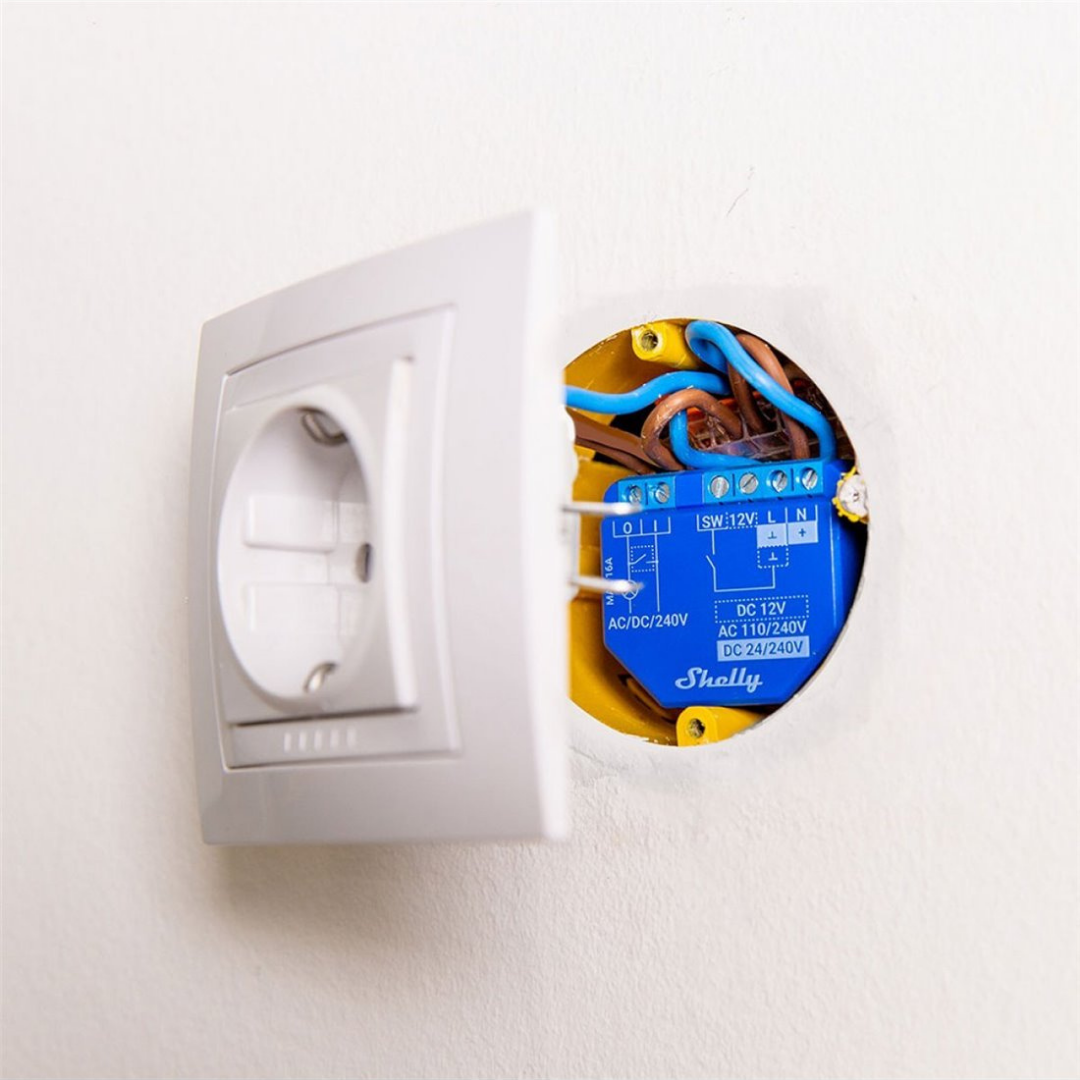
2. Connect the wires as shown in the diagram below.
3. Tighten the screw on the wall bracket.
4. Close the glass of the panel again.
5. Connect the power supply after completing the installation steps.
Diagram for version with neutral:
1. Connect the live wire (Live) to terminal L
2. Connect the neutral wire (Neutral) to terminal N
3. Connect the lamp wires to terminals L1, L2, and L3

Diagram for version without neutral:
In this version, the switch can work wirelessly without a neutral, as
shown in the image below.
Important: The sensor must be connected to terminal L3.

5. Download and installation of the App Smart Life or Tuya

1. Use your mobile phone to scan the “QR code” or search for
“Smart Life” or “Tuya” in the App store or Play store and install the
application. (Available on iOS and Android).
2. Log in. If you do not have an account, you need to register first. The system will automatically identify your country.
You can use your mobile number as your account name.
3. Click “Next” to receive the verification SMS on your mobile.
Enter your desired password.
4. Click “Confirm” to complete your registration.
6. Add new device
] There are two pairing modes: Automatic and Quick Flash.
1. The switch automatically enters pairing mode when turned on, if it is not connected to the WiFi network, the indicator light blinks quickly (automatic mode).
2. To connect the switch via “Quick Flash,” press the random button on the switch for 5 seconds until the WiFi indicator light starts flashing.
3. Connect your mobile phone to the local WiFi.
4. Enable Bluetooth on your mobile phone.
5. Click the “+” icon in the APP to add a new device, the APP will automatically find all devices that are in “standby” mode for pairing.
7. How to connect the Smart Switch for
WiFi Light SMARTIFY to Alexa
1. Open the “Alexa” APP on your mobile phone. After logging in, click on the
menu in the upper left corner of the main page, select “Settings” and click on “Add new device” to set up the “Amazon Echo”.

2. Choose the type of your device “Amazon Echo” and the language for the
connection. Press the small dot on the device until the light turns yellow.
Then click on “Connect” to connect the switch to the “HotSpot”.

3. After connecting the smart switch to the “Amazon Echo HotSpot”, return to the main page.
At this moment, the connection was successful. Click on
“Continue” to proceed to the next step. Choose a WiFi network to
connect to. The “Amazon Echo” will take a few minutes to connect to the
WiFi network.

4. After the connection is successful. Click on “Continue”. An instructional
video will appear. After the video finishes, click on “Continue” to
go to the main page of the “Alexa”
configuration process of the “Amazon Echo”.
5. Key step – enable the skill.
a. Click on “Skills” in the menu of the Alexa app.

b. Then, search for “Smart Life”. Click on “Activate” to enable the “Skill”.

c. Log into your account in the Smart Life app. , then click on “Link Now” to connect your account Smart Life to the “Skill”. You can now start your journey in Smart Home.

d. Common commands:
Control the device through voice command. You can now control your device with the “Echo”. You can control the device with the following commands: “Alexa, turn on/off bedroom light.”, “Alexa set bedroom light to 50 percent” or “Alexa, set bedroom light to green”.
8. How to control the Smart Switch
WiFi Light SMARTIFY with Siri
The shortcut function of the IOS 13.0 system can control smart products.
The operating mode is as follows:
1. Open the APP and go to the "scene creation page". Change the name of the scene, add the execution action, and click “Add to Siri”, select the scene you want in the “Siri” shortcut page to add.
2. Fill in the box under “When I say” with a phrase and the
“Siri” communicates with the APP to run that shortcut. For
example, you can create the phrase: “Back home”.
3. You can tell “Siri”: “Back home”. The phone will open the requested scene and the requested action will be performed.
4. To control the device through Google Home:
a. Open the APP “Google Home” and click on “Home
control”.
b. Under the “Devices” Menu, click the button
“+”, in the bottom right corner.

c. Click on “Tuya Smart” in the list and log in to your Tuya Smart account.
d. After logging in, the “Tuya Smart” account will appear in the list.
e. Click on “Done” in the top right corner, and then on “Got it” to finish.
f. In “Home Control”, all the devices supported by Google Home will appear.

9. How to change the WiFi from 5.0 to 2.4 GHz?
It is recommended to enter the Router's “Background” to select the frequency mode,
open the Router management page (usually the link to the management page is
on the label under the Router), and
select the “Wireless 2.4 GHz” setting.
10. Troubleshooting
● Check if the device is plugged into the power supply and if your
mobile phone is connected to the WiFi network.
● Confirm the router: if the Router is “Dual-Band”, select the 2.4 GHz network to add the device. You also need to enable the router's broadcasting function.
● If you bought multiple switches and notice that they do not connect at the same time, the Router may have some limitation on the number of connected devices. Try adding another router or reducing the WiFi connection of other products.
Frequently asked questions about the Smart Light Switch SMARTIFY:
1. How to install?
2. How to configure?
3. How to restore?
4. How to do Stair Switching?
5. What to do if the Light Switch has strange behaviors?


