
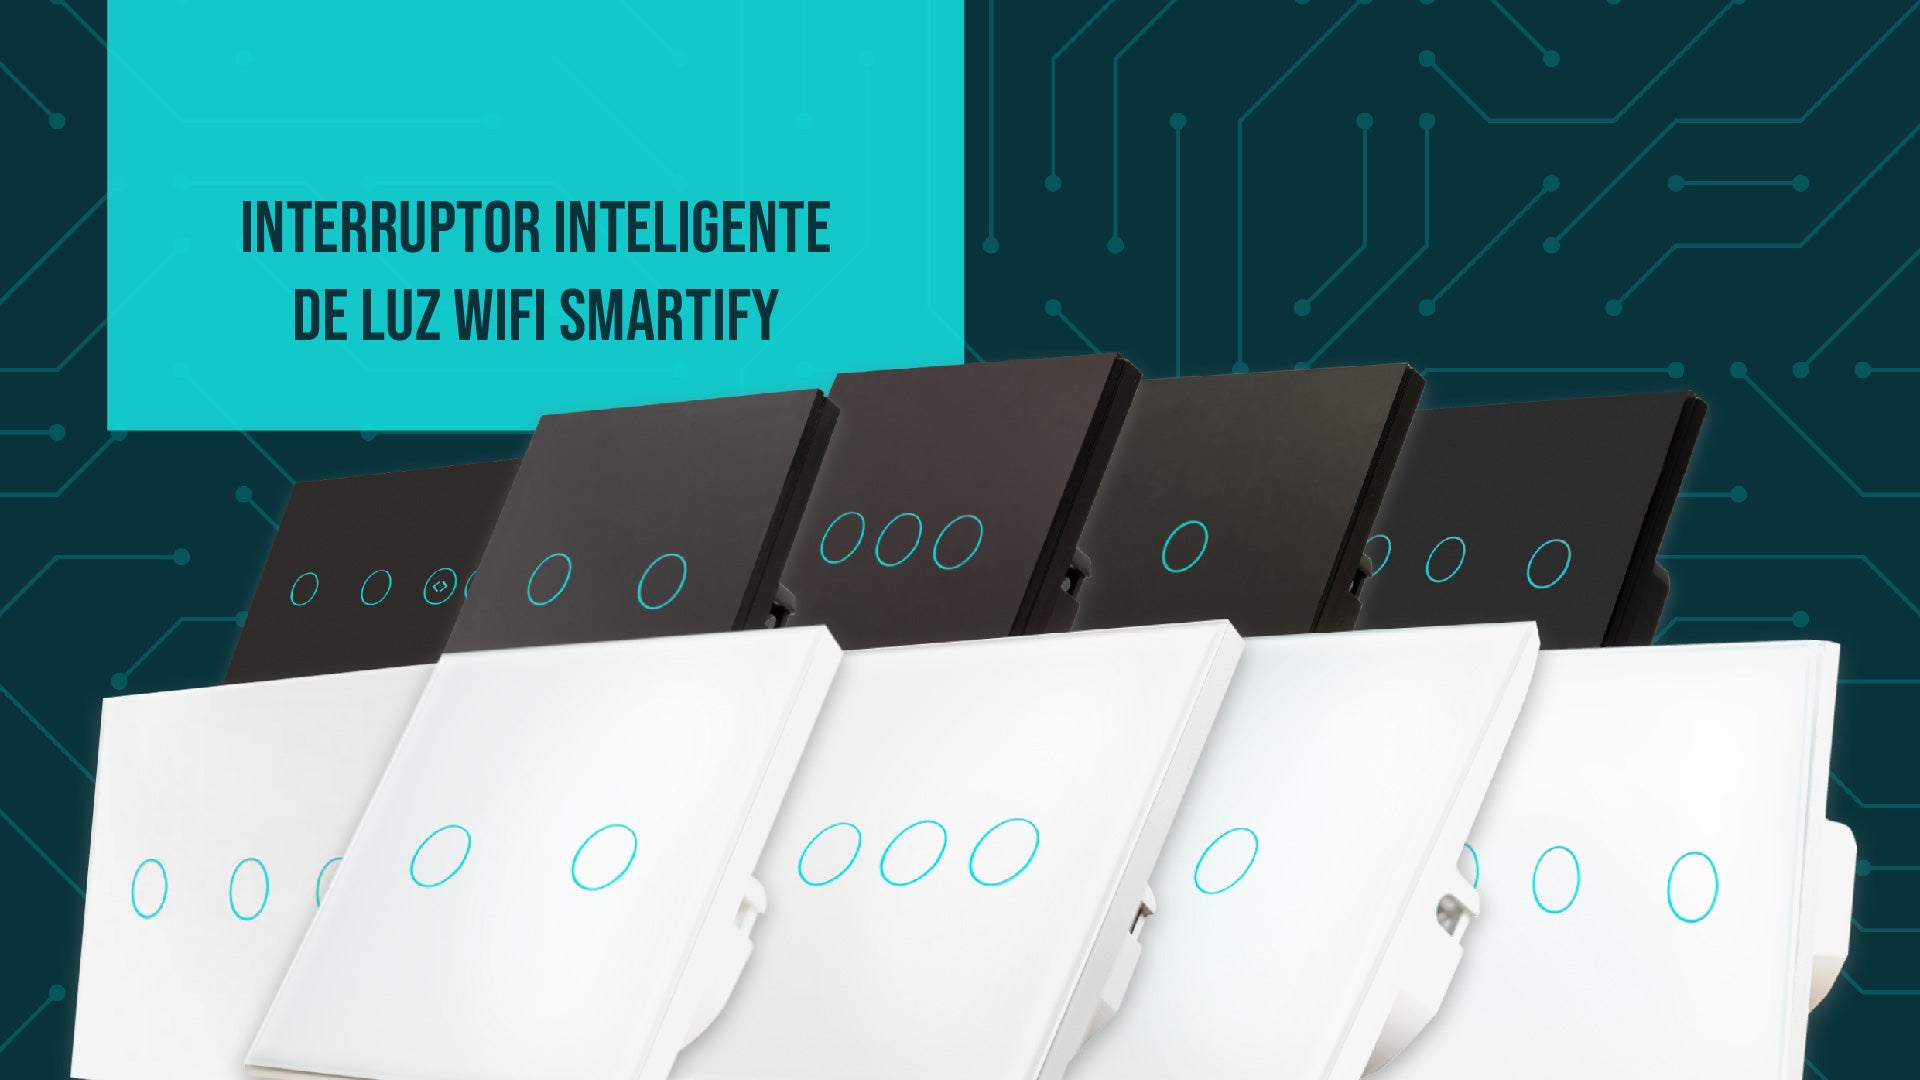

App control

Touch control

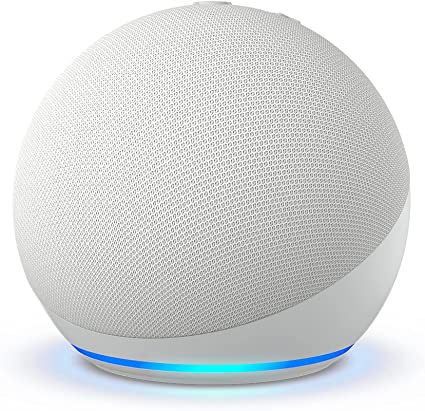
Voice control

Schedule timers

Compatible with
Google Assistant Google

Compatible with
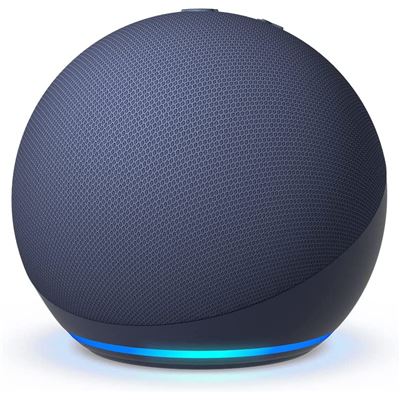
Amazon Echo Alexa

App
Tuya Tuya Smart

App
Smart Life

Compatible with
SmartThings Home Assistant

Compatible with
Siri

Compatible with
IFTTT
Product Specifications
| Power supply | 95v-250v AC |
| Maximum current | 10A |
| Maximum power | 100W /circuit |
| Wireless | 11 b/g/n 2.4 GHz |
| Security | WPA-PSK/WPA2-PSK |
| Material | ABS + Tempered glass |
| Size | 86 x 86 x 32 mm |
| Certifications | CE, RoHS, FCC |
After-sales service
If you cannot connect the smart light switch with “Quick Flash” (light flashes twice per second), you can use “Slow Flash” mode (light flashes every 3 seconds).
Smartify Smartify offers three years of after-sales service, starting from the date you purchased your smart light switch. If you have any questions about the product's operation, if you are unable to connect it, or if there is any defect with the device, Smartify Smartify is always ready to help you via email geral@smartify.pt or the number +351 93 223 3033.
Confirm if the 2.4 GHz network is active
The smart light switch works with a 2.4 GHz network. Check if your WiFi also has the 2.4 GHz network active and if not, you can enter the router management page to select the frequency mode. This page is usually indicated on the label under the router. After accessing the link, select the “Wireless 2.4 GHz” setting. If after this you still cannot connect your switch, try disabling the 5 GHz network.
Don't forget to also confirm that your phone is connected to the WiFi network you are going to use.
Precautions
- Turn off the electrical panel before installing the switch to protect yourself from electric shocks.
- Make sure the live wire and the neutral are connected correctly.
- Make sure the screws and wires are tightly fastened.
- We advise that the installation of the device should always be done by a certified electrician.
Installation of the WiFi Smart Light switch Smartify
Open the glass of the switch panel with the help of a screwdriver.
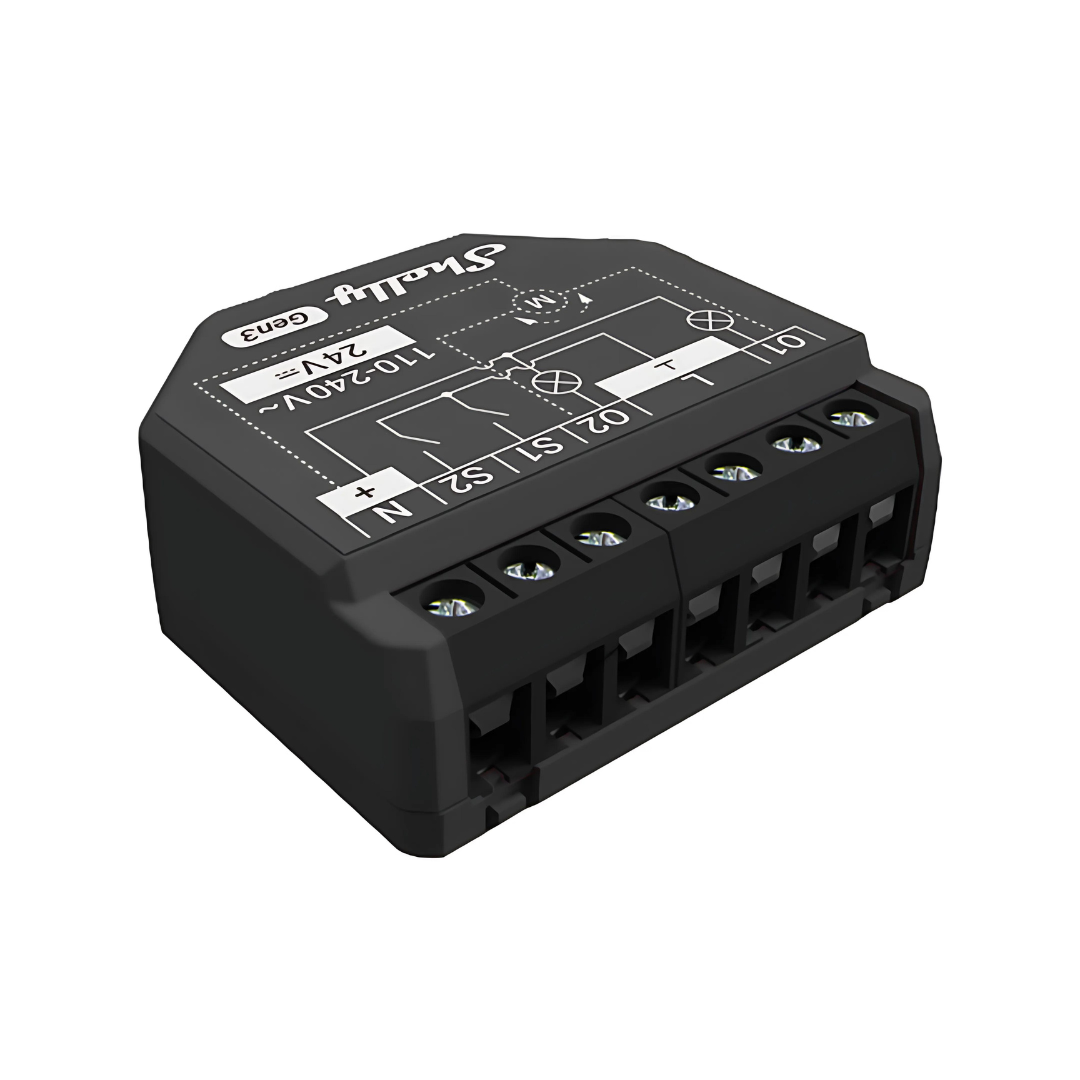
Installation with neutral:
- Connect the live wire (Live wire) to terminal L.
- Connect the neutral wire (Neutral) to terminal N.
- Connect the lighting wires to terminals L1, L2, and L3.

Installation with capacitor:
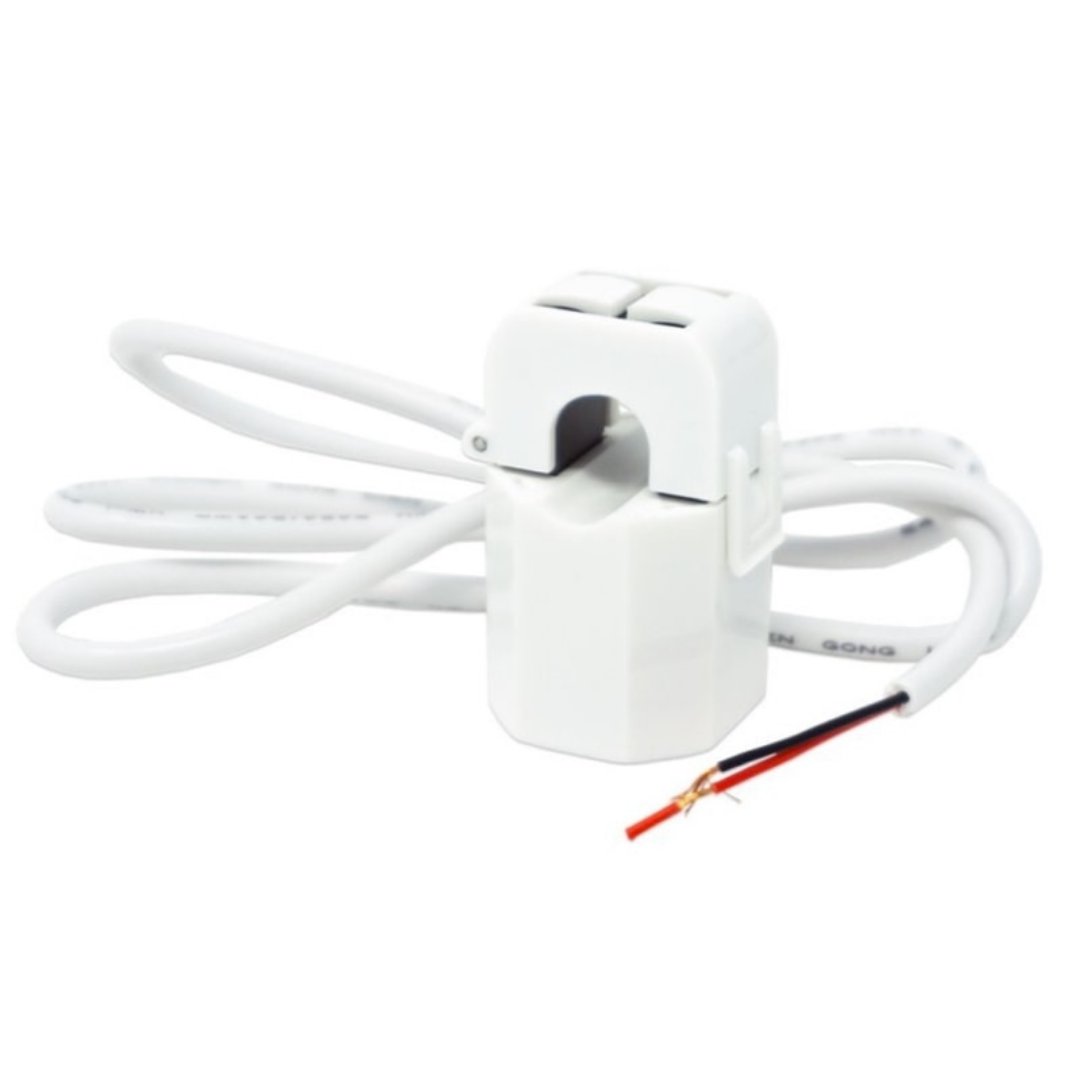
If your electrical installation has no neutral required, you need to place a capacitor as shown in image 2. It is important that the capacitor is connected to terminal L1.

After finishing the installation, tighten the screw on the wall bracket and close the glass of the panel again.
Download and installation of the Smart Life or Tuya app
- Install the Smart Life or Tuya app, both compatible with iOS and Android.
- Log in to your account or create a new one, if necessary.
- Fill in what is requested and click on “Next” to receive a verification message on your phone. You can now set your password.
- Click on “Confirm” to finish your registration.
Adding a new device
There are two modes to configure: “Slow Flash” and “Quick Flash”.
- The first time you pair it, your switch automatically enters “Quick flash” mode, flashing rapidly 2 times per second.
- To connect the switch via “Quick Flash”, click any random button on the switch for 5 seconds until the WiFi indicator light starts flashing.
- Connect your phone to the local WiFi.
- Activate the Bluetooth on your phone.
- In the app, click the “+” icon to add a new device, and all devices that are in “standby” will appear automatically.
How to connect the WiFi Smart Light switch Smartify to Alexa
- Configure your switch in the Smart Life or Tuya app as we explained previously.
- In the Smart Life or Tuya app, click on “Me” and click on the Alexa icon and then “Sign in with Amazon account”.
- Open the “Alexa” app on your phone and log in.
- In the bottom menu go to “Devices” and then click on “Your Smart Home Skills”.
- Click on “Enable Smart Home Skills” and search for the app you use;
- Click on “Enable to use” and then on “Confirm authorization”.
- Alexa will automatically search for the devices you have associated with your Smart Life account.
- And it's all set! You will need to repeat steps 8 and 9 for each switch you have.
Examples of common commands:
“Alexa, turn off the lights”
“Alexa, turn on the bedroom lights”
“Alexa, turn off the bedroom lights at 5 PM”.

How to control the smart light switch with Siri
- Go to your iPhone settings and look for the Smart Life app or Tuya.
- In the app settings, click on “Siri & Search” and activate all features.
- Set up your switch in the Smart Life app or Tuya as explained in chapter 6.
- Click on “Smart” at the bottom of the page.
- Next, click the “+” button in the top right corner.
- Click on “Tap-to-Run” and in the “Then” field select “Run the device”
- Select the light switch, the button you want and what you want to happen.
- Click next. You can change the name and style of your scene using the pencil in front of the scene name. At the end click “Save”
- Back in the scenes menu, click “Add to Siri” in the bottom right corner.
- Select the scene you created.
- You can change the phrase you will say to Siri to execute the scene.
- When you are finished, click “Ok”.
- Now you can ask Siri to do what you chose! You need to define a scene for all commands.

How to pair the WiFi light switch Smartify with Google Assistant
- Open the “Google Home” app on your phone and log in.
- Click on settings, in the center of the app.
- Scroll down and click on “Works with Google.”
- Search for the app you use for your devices and select it.
- Confirm authorization and wait for it to link.
- Select the switch, click “Next” and choose the home where you want to link it.
- Click next and put it in an existing room or create a new one by choosing below.
- Click next and when you are finished click the “X” in the top left corner.
Now you can use voice commands with your Google Assistant. Some examples:
“Ok Google, Turn off the lights”
“Ok Google, Turn off Entrance”
“Ok Google, Turn on Entrance one”

Troubleshooting
- Check if the device is connected to power and if your phone is connected to the WiFi network.
- Confirm if the router is “Dual-Band” and select the 2.4 GHz network to add the device. You also need to activate the router's broadcasting function.
- If you bought several switches and they don't connect at the same time, the router might have a limit on the number of connected devices. Try adding another router or reducing the WiFi connection of other products.
See the smart light switches we have
Thank you very much for purchasing the light switch from Smartify
Our mission is to show that home automation is for everyone and we reflect that in our values, products, presentation and customer support.
We are always ready to help you with whatever you need, so do not hesitate to contact us.
Send an email or call us to find out which is the best package for you.


+351 93 223 3033
Why is it worth continuing to buy from Smartify?

We have the lowest prices on the market

Try it and return it within 15 days if it is not ideal for you!

In Mainland Portugal, order today and receive it tomorrow!

We are trustworthy, with a 4.8/5 rating on Trustpilot!

Pay only for the products on purchases over 65 euros!

We are available to help you at any time!


2 reviews
Daywalker
Guter Schalter um sein Zuhause smarter und schöner zu gestalten. Leider hat die Beleuchtung für die Ein- und Ausschalttaste, sowie W-lan nur einen Tag gehalten/geleuchtet.
Gerd Reschke
Sehr hübscher Schalter seit ca einem Jahr in Betrieb nun lässt er sich leider nicht mehr mit dem Smartphone bedienen schade.