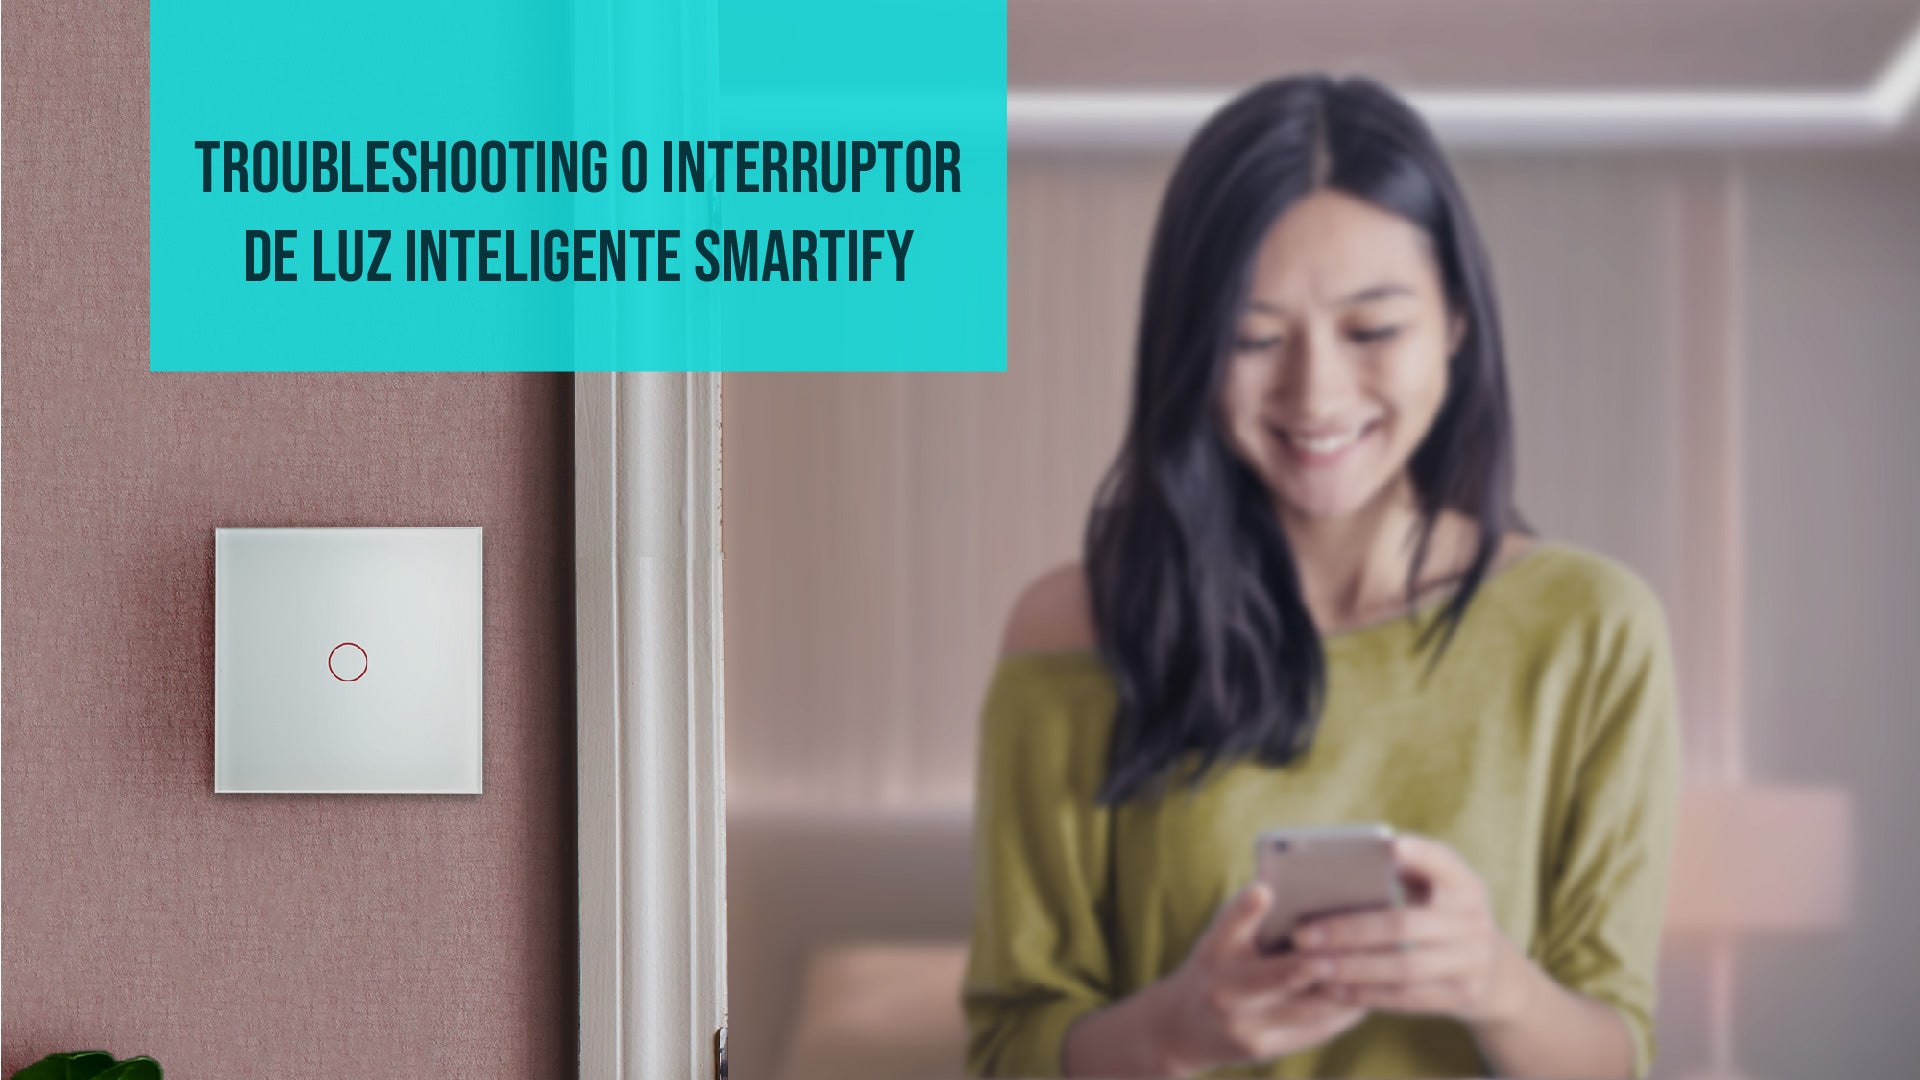
If you have a smart light switch in your home and it doesn't seem to be working as expected, don't panic.
Since this is a relatively unexplored and also more complex area, it is natural to occasionally encounter obstacles. You may not have been able to turn on the switch the first time, or it stopped working halfway. But we have good news! There are several solutions you can try to resolve your issue.
However, before we explore the solutions to these possible setbacks, it is essential to understand in detail what a smart switch is and the incredible capabilities it offers. With this introduction, you will understand how to make the most of your smart switch and, if problems arise, you will know how to resolve them effectively.
What is a Smart Light Switch?
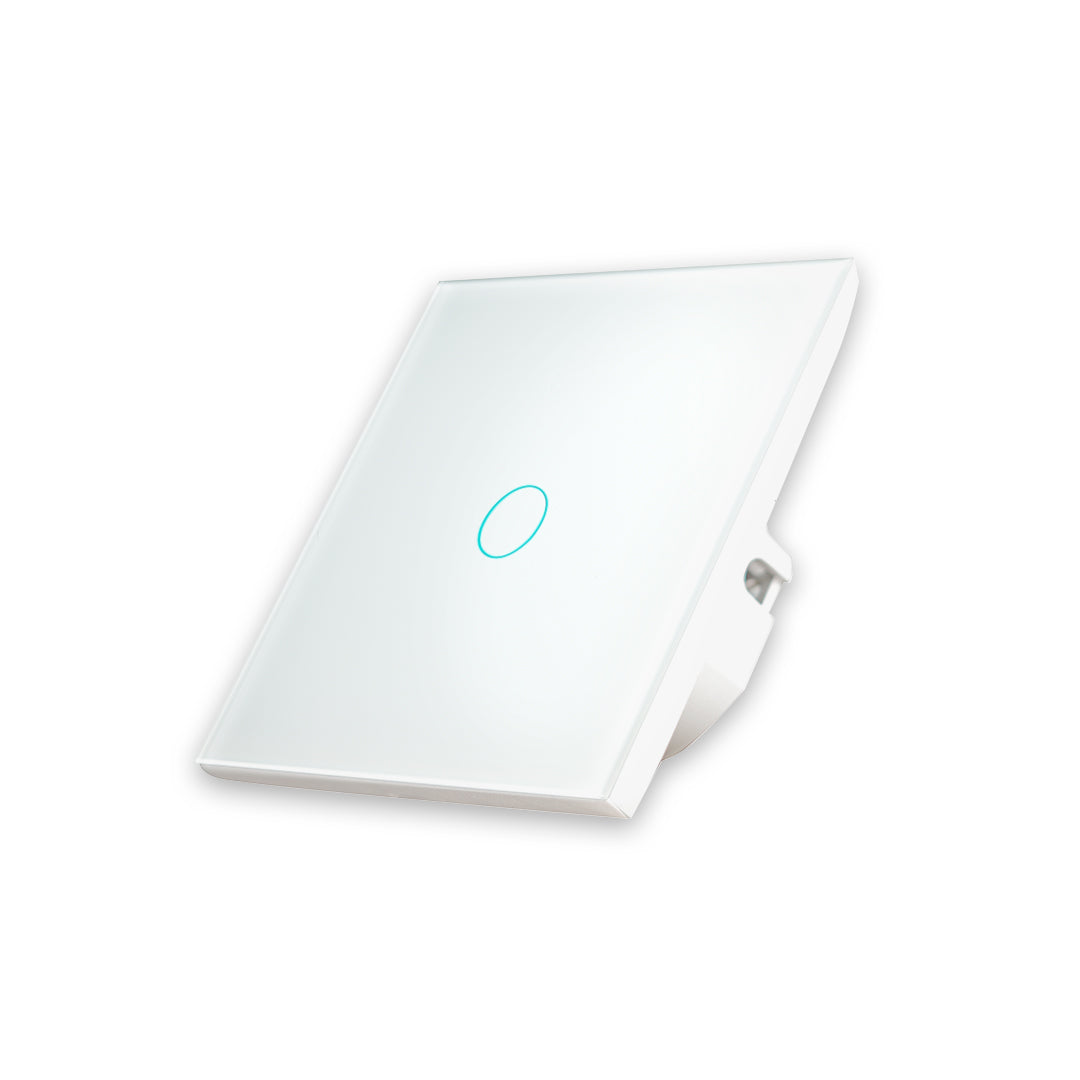
The Smart Wifi Light Switch Smartify is a technological innovation that revolutionizes the simple act of turning lights on and off, providing a more advanced and personalized lighting experience in your home. With this small change, you gain the power to control your lights through your smartphone or voice assistant.

The growing popularity of these switches is due to their ability to significantly enhance comfort and convenience in your home. These have been designed to enhance all aspects of your daily life. From making your home safer to automating your lights according to your routine, smart switches are a valuable addition to your home.
What Can You Do with a Smart Light Switch?
These advantages are more accessible than you can imagine. They are features that make your daily life remarkably more convenient. Discover why it is worth replacing your conventional switches with their smart equivalents.
Remote Control
One of the main reasons why customers Smartify choose to purchase a smart light switch is the ability to control it conveniently through a smartphone or tablet. With the Smart Life or Tuya app, you can easily turn the lights on and off from anywhere in the world, as long as you have an available Wi-Fi connection.
For example, this eliminates the worry of forgetting the lights on at home. With your mobile phone, you can check and turn off the lights easily, bringing peace of mind to your daily life.
Integration with Voice Assistants
An excellent piece of news is that smart switches offer an even more convenient way to be controlled: through virtual assistants. Whether you use Google Assistant or Amazon Alexa, these assistants allow you to manage your lights with simple voice commands. Just say something like "Alexa, turn on the living room lights" and your lights will promptly obey.

The variety of available voice commands makes the experience even more versatile. You can request to turn the lights on or off, schedule their operation for a specific time, and even check if the lights are on. This provides a level of convenience and control that simplifies your daily life.
Smart Scheduling
The switches offer the option to schedule times to automatically turn the lights on and off. This allows you to adapt the lighting to your daily routine, such as turning on the lights in the morning when you wake up or before you get home after work. However, the scheduling options go beyond that.
You can configure the behavior based on the sunrise or sunset, ensuring that the lights are always adjusted to the natural light of the environment. Another option is to set a time limit for the lights to stay on, acting as a timer. Furthermore, there are methods that are ideal for simulating your presence at home when you are away, contributing to the security of your home.
Creation of Scenarios
You also have the ability to create more complex scenarios with your smart switch. By connecting them to other smart devices, the possibilities are endless! For example, with smart sensors, you can program your lights to turn on automatically when you arrive home or when passing through a certain room, providing convenience and energy savings.
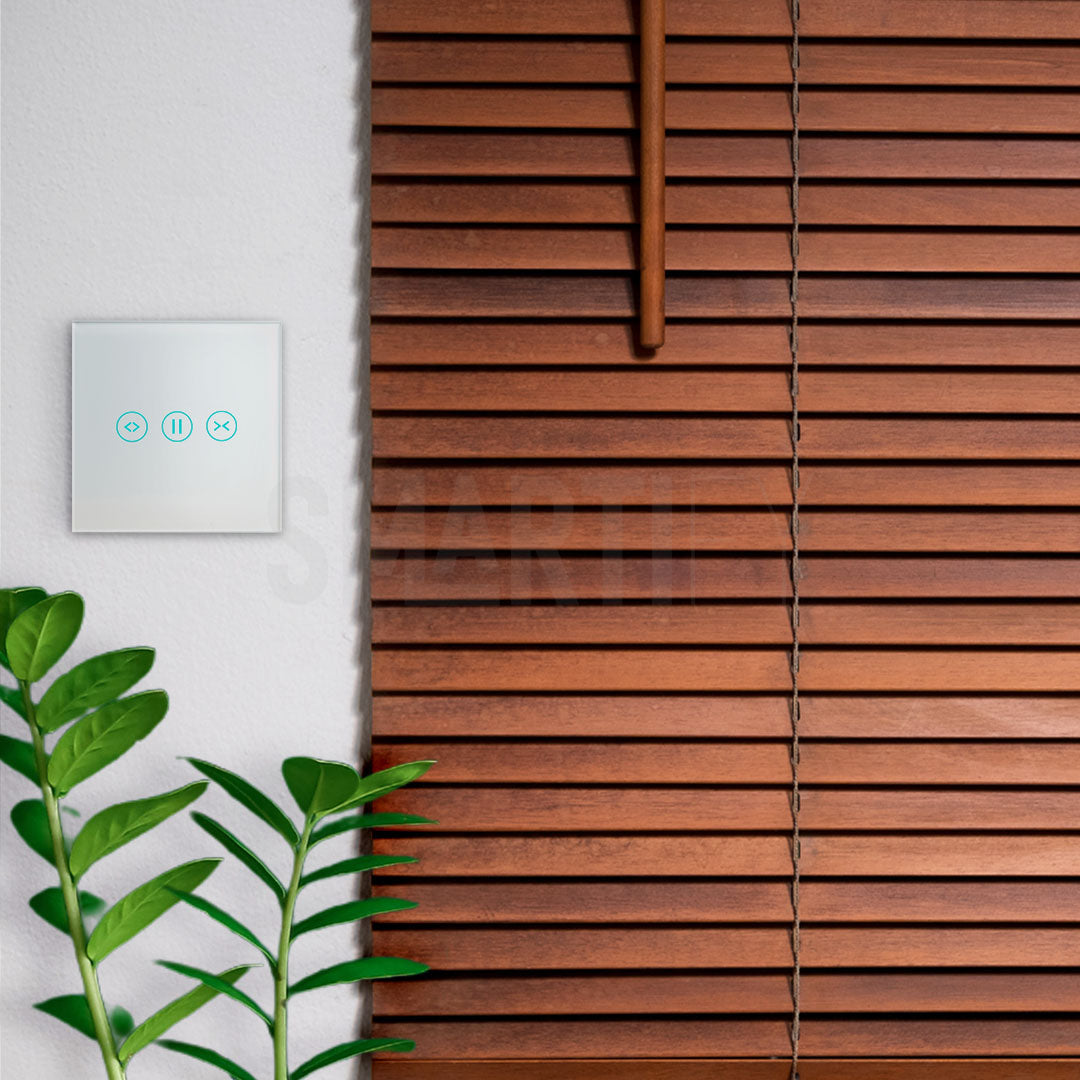
Another interesting feature is the ability to trigger actions on other smart devices based on the behavior of your lights. You can, for example, set your electric curtains to lower when the lights are turned off, at a certain time of day. This creates a more welcoming and energy-efficient environment.
Smart Light Switches from Smartify
Smartify offers a total of 5 combinations of smart light switches. These can be found in stylish white or black finishes to suit the style of your home.

1 button
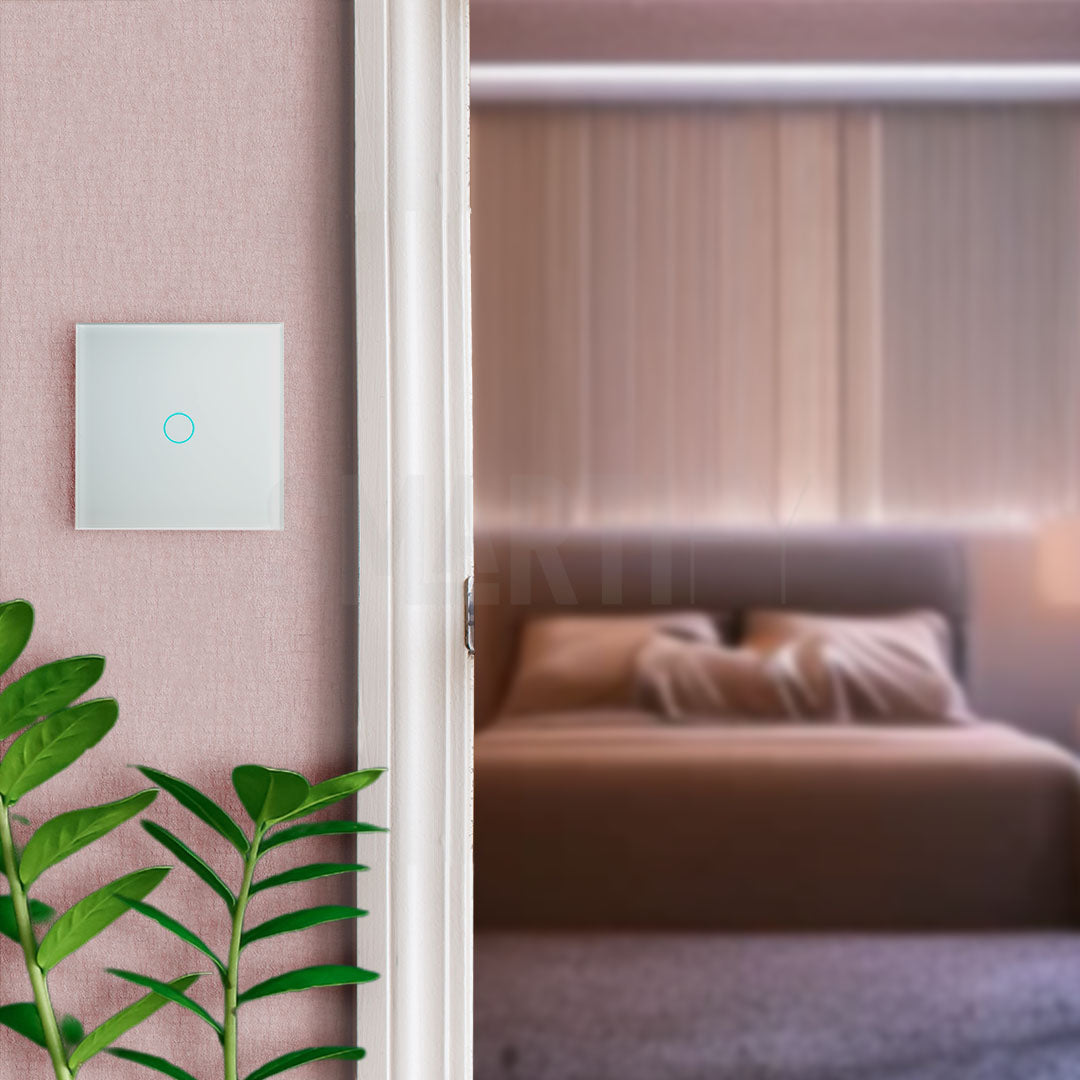
The Smart Light Switch with 1 button is the perfect choice to control a single set of lights in your home. With a sleek design and available in the classic color white or in the modern color black, this switch makes it easier than ever to adjust the lighting of a room according to your needs.
2 buttons
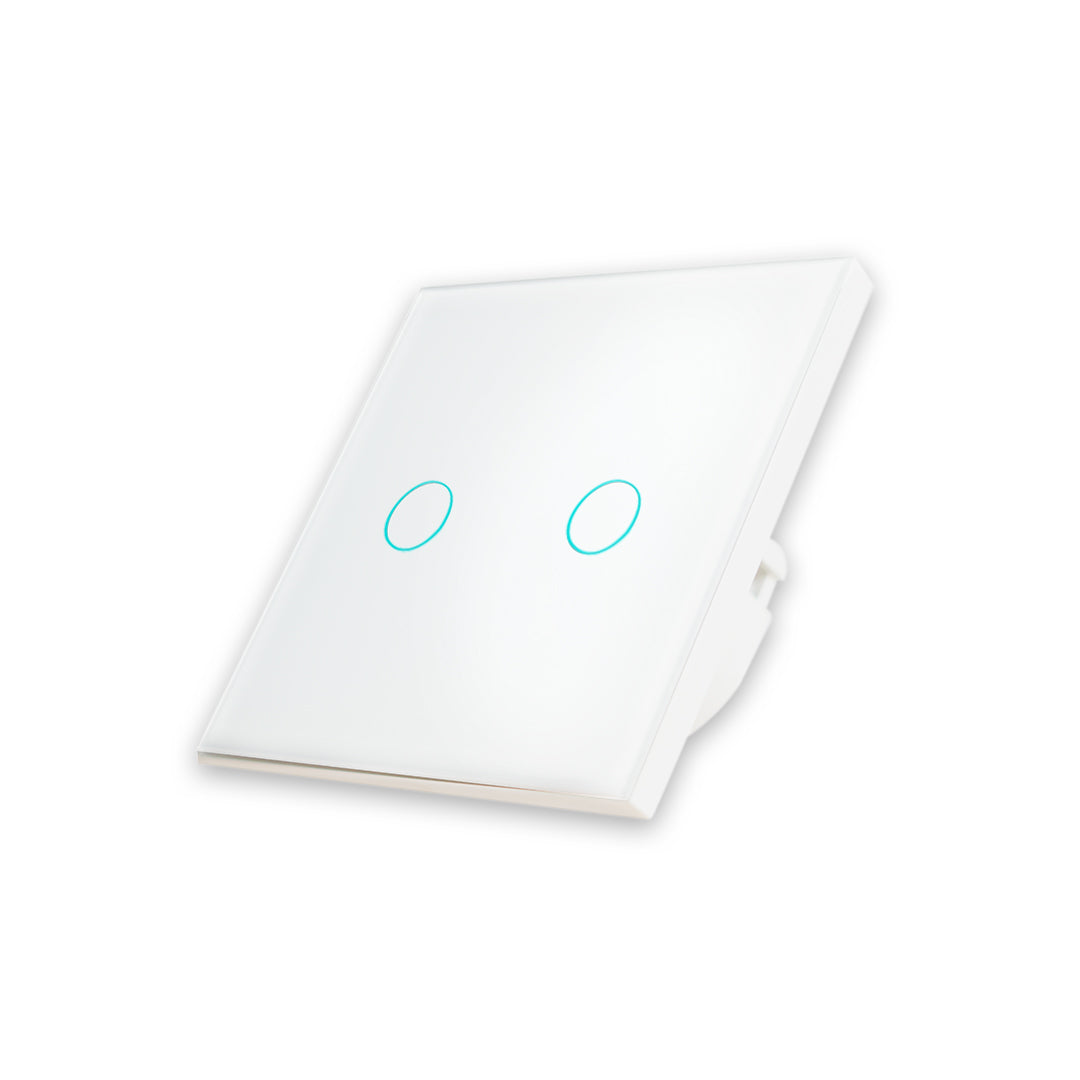
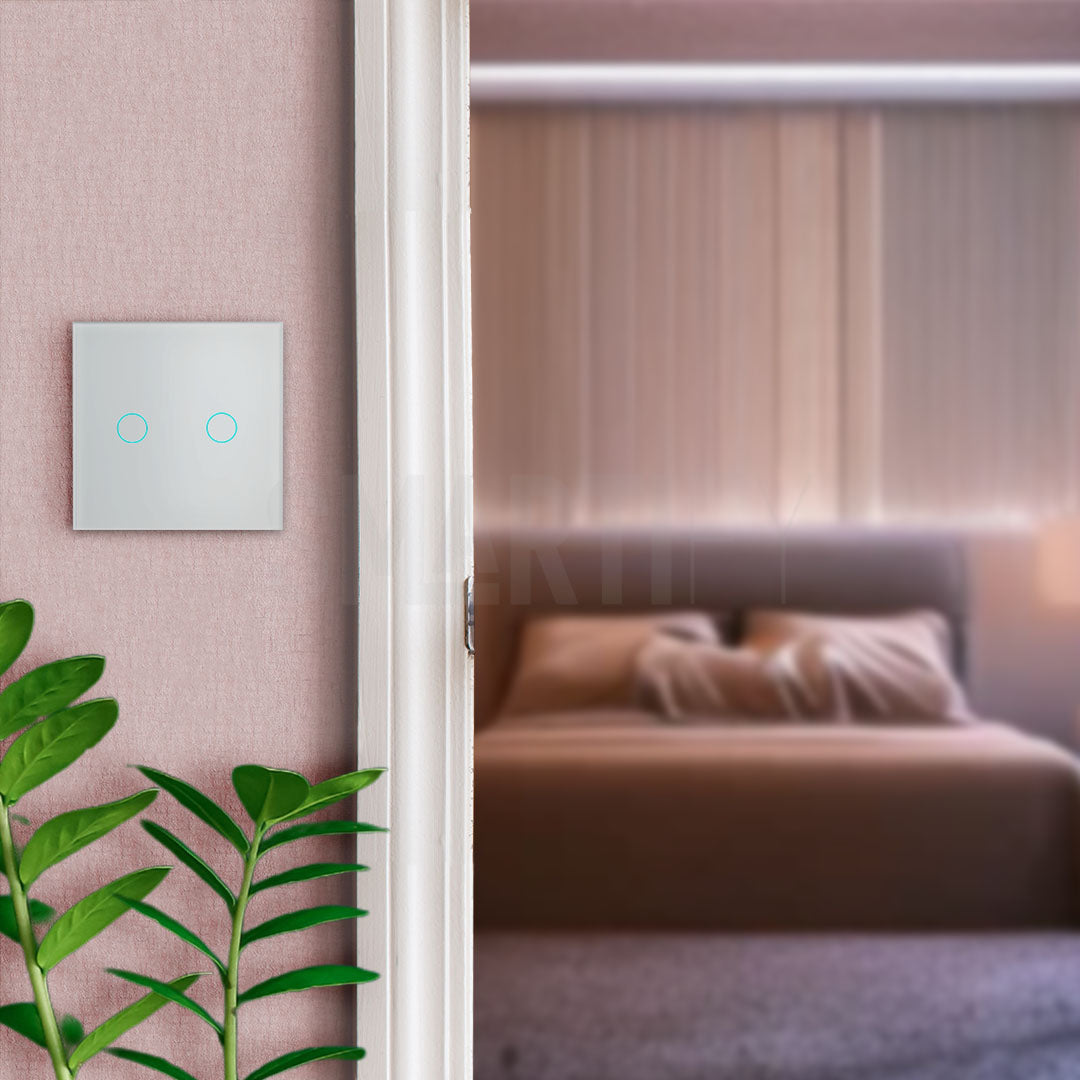
When it comes to controlling two different sets of lights, the Smart Light Switch with 2 buttons is the ideal solution. This switch offers the flexibility to illuminate different areas of your home with ease. Available in the colors white and black, perfectly matches the decoration of your home and allows you to conveniently customize the lighting.
3 buttons
If you need even more control over the lighting in your home, the Smart Light Switch with 3 buttons is the right choice. With the ability to control three distinct sets of lights, this switch offers versatility and practicality. Choose between the color options white or black to complement the style of your home.
4 buttons
For comprehensive control of the lighting, the Smart Light Switch with 4 buttons is the ideal choice. This switch has two boxes, in sets of 2 buttons each. You can also choose the white or black version to perfectly integrate this switch into your home.
2 buttons + blinds
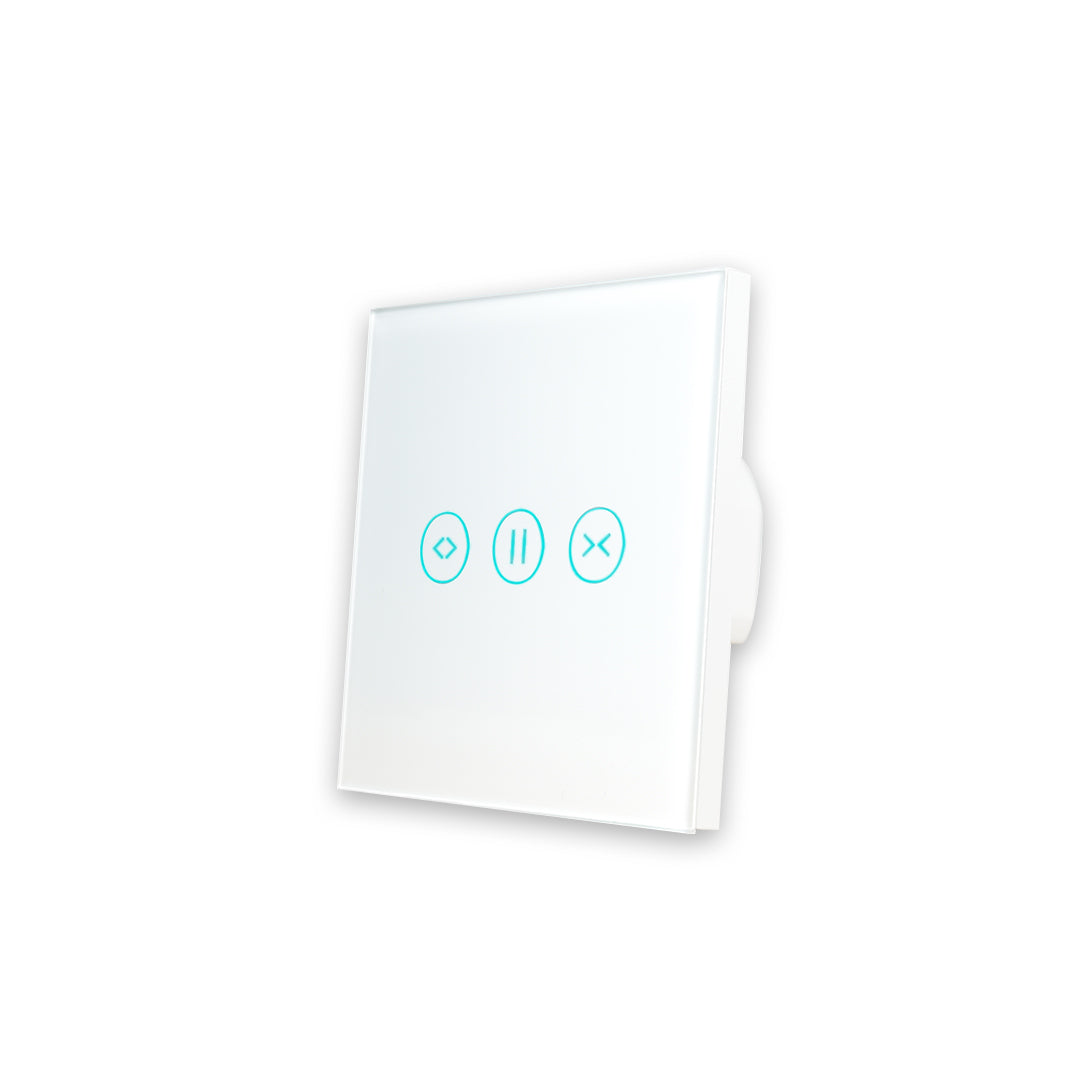
In addition to controlling two sets of lights, the Smart Light Switch with 2 buttons + blinds offers additional functionality to control electric blinds. This versatile option provides a convenient way to adjust both the lighting and the blinds in your home. Choose from the colors white or black for a sleek look.
Common Problems
This is your first smart light switch and you can't seem to set it up. You may even already have several, but the one you're trying to install now is giving you some trouble! Or perhaps your switch that always worked fine has suddenly stopped functioning.

Let's explore some of the common issues that can arise when using this smart device and the simple solutions that will help you overcome them. After all, technology can have its challenging moments, but with patience and knowledge, you will be on your way to fully enjoying the benefits of your smart light switch.
Resetting the Device
The first thing to consider if your smart light switch is not working properly is to reset it to factory settings. This can resolve many issues, especially if there were incorrect settings or synchronization problems with the app.
Here are the steps to reset your switch to factory settings:
-
Delete the device in the app.
-
Press and hold one of the switch buttons for about 5 to 10 seconds, until the indicator light (blue) starts flashing.
-
Now, set up the switch again from scratch. Use the Smart Life or Tuya app and follow the setup steps, just like you did initially.
Remember that by performing a factory reset, all custom settings will be erased. Therefore, you will need to reconfigure the switch with your Wi-Fi network, set the automations, and adjust all preferences according to your needs.
Wiring and Capacitor Connection
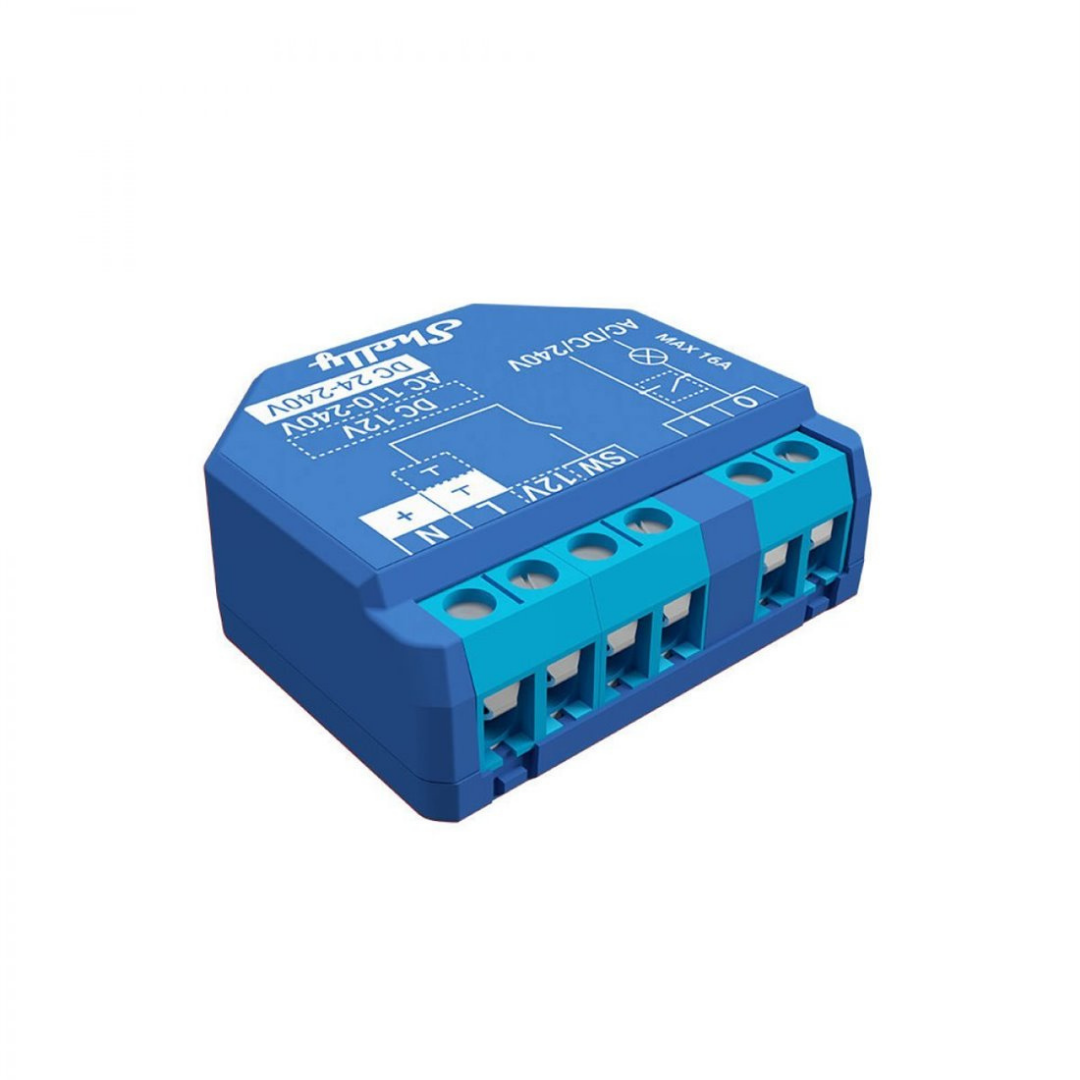
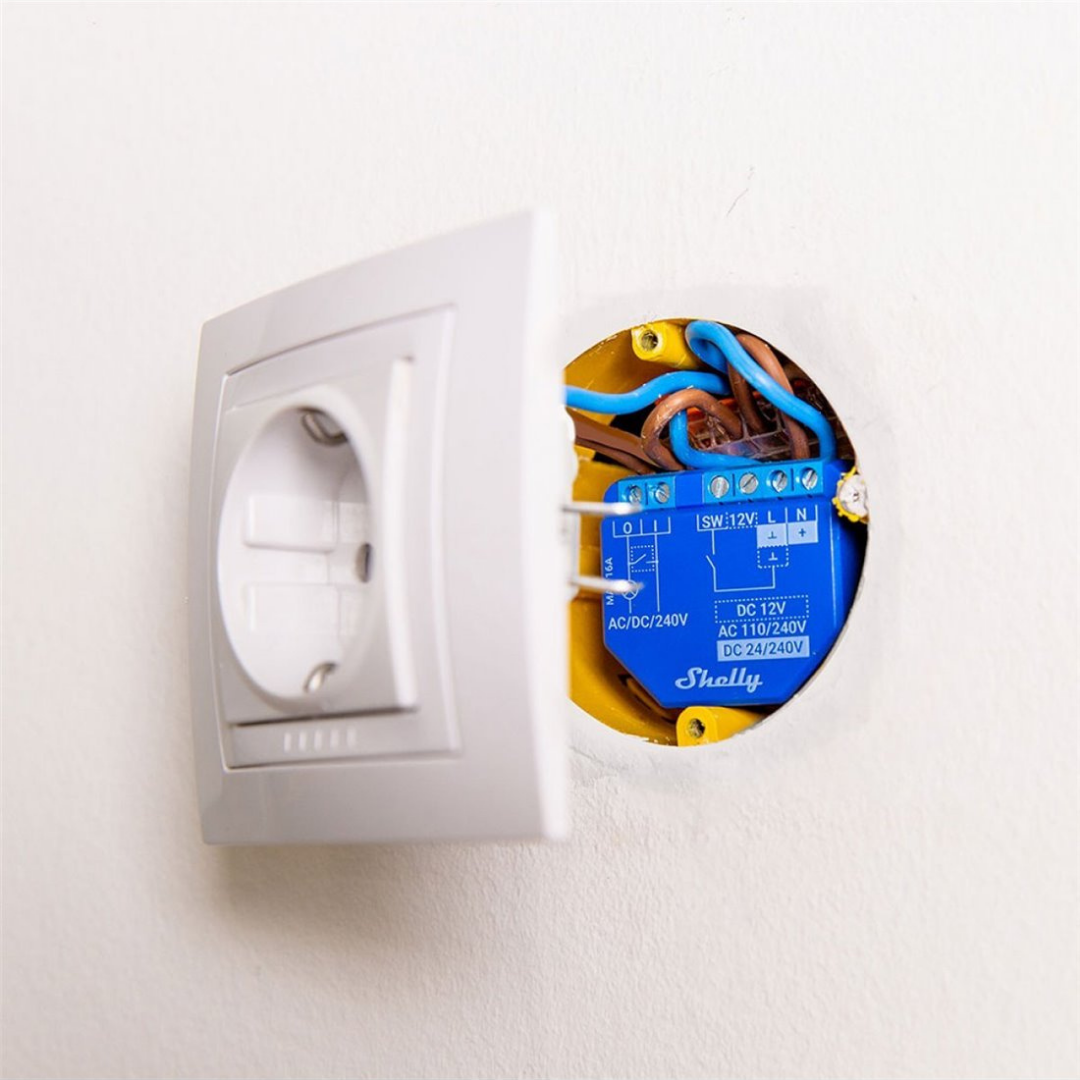
It is essential to ensure that the electrical installation of your smart light switch is done correctly to avoid operational issues. Knowing that there are two ways to install the switch, with neutral or with capacitor, let's check if all the wires are properly connected.

-
Connection without Capacitor: First, make sure you have turned off the power at the fuse box before proceeding. This connection is for installations that already have a neutral wire.
-
Neutral (N): Ensure that the neutral wire, usually blue, is connected to the "N" terminal.
-
Phase (L): The phase wire must be connected to the "L" terminal on the smart switch. This wire is typically brown or red.
- Load Wires (L1 to L3): The wires going to the lamps must be connected to the terminals "L1" to "L3." If the switch is double or triple, you need to be careful to connect the respective wire to the correct terminal.
-
-
Connection with Capacitor: In these cases, the connection is similar to the previous one, except that it is necessary to install a capacitor instead of connecting the phase wire. The wires should be connected as follows:
-
Phase (L) and load wires (L1 to L3): These connections are identical to the connection without a capacitor.
-
Capacitor: To make this connection, you need to connect the capacitor to the first light point to the neutral and phase wire. If the switch is double or triple, you need to connect it to the light point corresponding to L1.
-
2.4 GHz Wi-Fi Frequency
Most smart devices, including smart light switches, operate on the 2.4 GHz frequency of Wi-Fi networks. This is because this frequency offers greater signal range compared to the 5 GHz frequency, making it ideal for devices throughout the home.
Many modern routers support both frequencies, 2.4 GHz and 5 GHz, creating mixed networks. However, this can be a problem for devices that specifically require the 2.4 GHz frequency.

If you are having connectivity issues with your smart switch and suspect it is due to the Wi-Fi frequency, you can follow these general steps to enable the 2.4 GHz frequency on your router:
-
Access the router management page: Open a web browser and enter your router's IP address in the address bar. Typically, routers have a default address, something like "192.168.1.1" or "192.168.0.1". You can find this address in the router manual or on the label on the bottom of the device.
-
Log in: You will be prompted to enter a username and password to access the router settings. This information should also be in the router manual. If you can't find it, you can contact your Internet service provider for assistance.
-
Find the frequency settings: Within the router settings, look for an option related to wireless frequency or network settings. It may be labeled "Wireless Settings", "Wireless Network", "Wireless Setup", or something similar.
-
Enable the 2.4 GHz Frequency: Within the wireless frequency settings, you should find an option to enable the 2.4 GHz frequency or create a separate 2.4 GHz network. Make sure this option is enabled.
-
Save and Restart: After making this change, save the settings and restart your router. This will ensure that the changes take effect.
Remember that the exact process may vary based on the brand and model of your router, so it is always advisable to consult the router manual or contact your Internet service provider's technical support for personalized assistance. Ensuring you are on the correct 2.4 GHz frequency is crucial for proper connectivity of your smart devices.
Wi-Fi Signal Issues
It is important to ensure that the Wi-Fi signal is strong and stable in the location where the smart light switch is installed. Breaks in the signal can affect the proper functioning of these devices. If you are using Wi-Fi repeaters in your network, it is essential that these repeaters are well positioned to ensure adequate coverage throughout your home.

A solution that many of our clients Smartify have found effective is the use of a mesh network. This is a wireless network configuration that uses multiple interconnected devices to provide consistent and reliable Wi-Fi coverage throughout the house. This approach helps to eliminate dead spots and ensures a stable connection for all your devices, including smart light switches.
At Smartify, we are committed to providing the best possible experience for our customers. If you are interested in improving your Wi-Fi network with a mesh network solution, Smartify offers this service. Get in touch with us and request your free quote to make this a reality. We want to ensure that you make the most of your smart devices and enjoy a truly smart and convenient lighting experience at home.
Check the Routines
If your smart light switch was working well and suddenly stopped responding or started turning on or off unexpectedly, it may be due to the automation routines you have set up. Routines are programmed actions that the switch performs automatically based on specific scenarios or schedules.
In this case, it is important to review and adjust the configured routines. There may have been a programming error or a conflict between different routines that are affecting the switch's behavior. To resolve this situation, follow these steps:
-
Open the Smart Life or Tuya app on your mobile phone.
-
Look for the "Routines" or "Automations" section. Here, you will find all the programmed actions for your smart switch.
-
Carefully analyze the existing routines. Check if any of them are incorrectly configured, such as overlapping activation or deactivation times.
-
If necessary, make adjustments to the routines to ensure that there are no conflicts or configurations causing issues.
-
After making the necessary changes, save the settings and test the switch to see if the problem has been resolved.

Remember that automations are a powerful feature of smart switches, but it is crucial to set them up correctly to avoid unwanted behaviors. Periodically reviewing your routines can help maintain the proper functioning of your smart light switch.
We are here for you!
Any other questions about home automation and other smart devices? Get in touch with us now and we will be happy to clarify all your questions about home automation.
Now, you are one step closer to having a fully customized smart home according to your preferences.




12 comments
Daniel
Tengo un interruptor wifi, de 2 botones, lo que ocurre es que de la nada se apaga uno de las luces , que puede ser
Desde ya muchas gracias
José
Una llave de tres puntos inteligente! Fue instalada con neutro !! Quedó bloqueada la ficha no enciende las luces ! Y no hace absolutamente nada ! Que puede haber ocurrido ? El wifi . Es muy buena la señal . Se las nota con luces a las fichas pero no señal puede resetear ni volver a conectar ya que las mismas no responden ! Gracias
Mariela CABRERA
Tengo en casa interruptores inteligentes, pero hay 1 (simple) que en el icono de la aplicación no aparece encendido cuando lo prendo o no cambia el icono cuando lo apagó.las luces prenden y apagan bien
Javier
Hola, tengo un problema, conecte un interruptor triple pwro en ino de los cuales quiero poner un lampara inteligente que cambia de color e intensidad de luz, al tener los dospositivos inteligentes solo prende y apaga con el asistente mas no cambia de color. Que puedo hacer?
Arnold
Hola necesito ayuda mi interruptor inteligente triple deja de funcionar una vez abierto lo desconecto y lo conecto nuevamente de un solo cable y vuelve a funcionar a qué se debe?
Leonardo
Es normal que cada vez que hay ausencia se tensión tenga que volver una y otra vez a configurar el Swich?
Alex
Tengo un apagador inteligente de 3 fases. Funcionaba correctamente, pero de pronto dejo de encender los botones y ahora solo parpadea el simbolo de wifi en verde, trate de resetearlo presionando algun boton de los apagadores, pero ninguno funciona. Desconecte la luz y tampoco, desconecte mi router y continua igual. Quite la tapa de vidrio y presione la almoadilla para ver si asi lograba resetarlo, pero continua con el parpadeo de wifi lento en verde, los 3 botones para apagar y encender la luz no encienden. Hay algo que le pueda hacer? Estara bloqueado? El capacitor se habra dañado?
Adolfo
Buenas tardes, se cortó la luz y al regresar la corriente los 3 botones quedaron pegados, no responden para reiniciae, uno en rojo y 2 en azul. Al no poder presionarse no enciende la luz azul de pairing. Es como si se hubiera bloqueado. Por favor ayúdenme.
Salvador Giglio Neto
Instalei um interruptor TRIPLO, sem neutro. Instalei o capacitador na L1, tal como instruções.
A luz, do L1, qdo acesa fica tremendo e a iluminação se prejudica. As luzes L2 e L3 não oscilam.
Já troquei de lampadas por mais fortes e mais fracas e nada…. O que pode ser ?
Salvador Giglio Neto
Instalei um interruptor TRIPLO, sem neutro. Instalei o capacitador na L1, tal como instruções.
A luz, do L1, qdo acesa fica tremendo e a iluminação se prejudica. As luzes L2 e L3 não oscilam.
Já troquei de lampadas por mais fortes e mais fracas e nada…. O que pode ser ?
Salvador Giglio Neto
Instalei um interruptor TRIPLO, sem neutro. Instalei o capacitador na L1, tal como instruções.
A luz, do L1, qdo acesa fica tremendo e a iluminação se prejudica. As luzes L2 e L3 não oscilam.
Já troquei de lampadas por mais fortes e mais fracas e nada…. O que pode ser ?
Alzit Oliveira
Troquei o meu rodeador antigo que estava com problema, por um novo. Aconteceu, quê depois da substituição e ativação do novo roteador, o meu interruptor inteligente ficou OFF e inclusive a luz azul do wi-fi está apagada. O mesmo só tá funcionando manualmente. Qual solução para que o led e o wi-fi voltem e coloque o interruptor ONLINE ?